
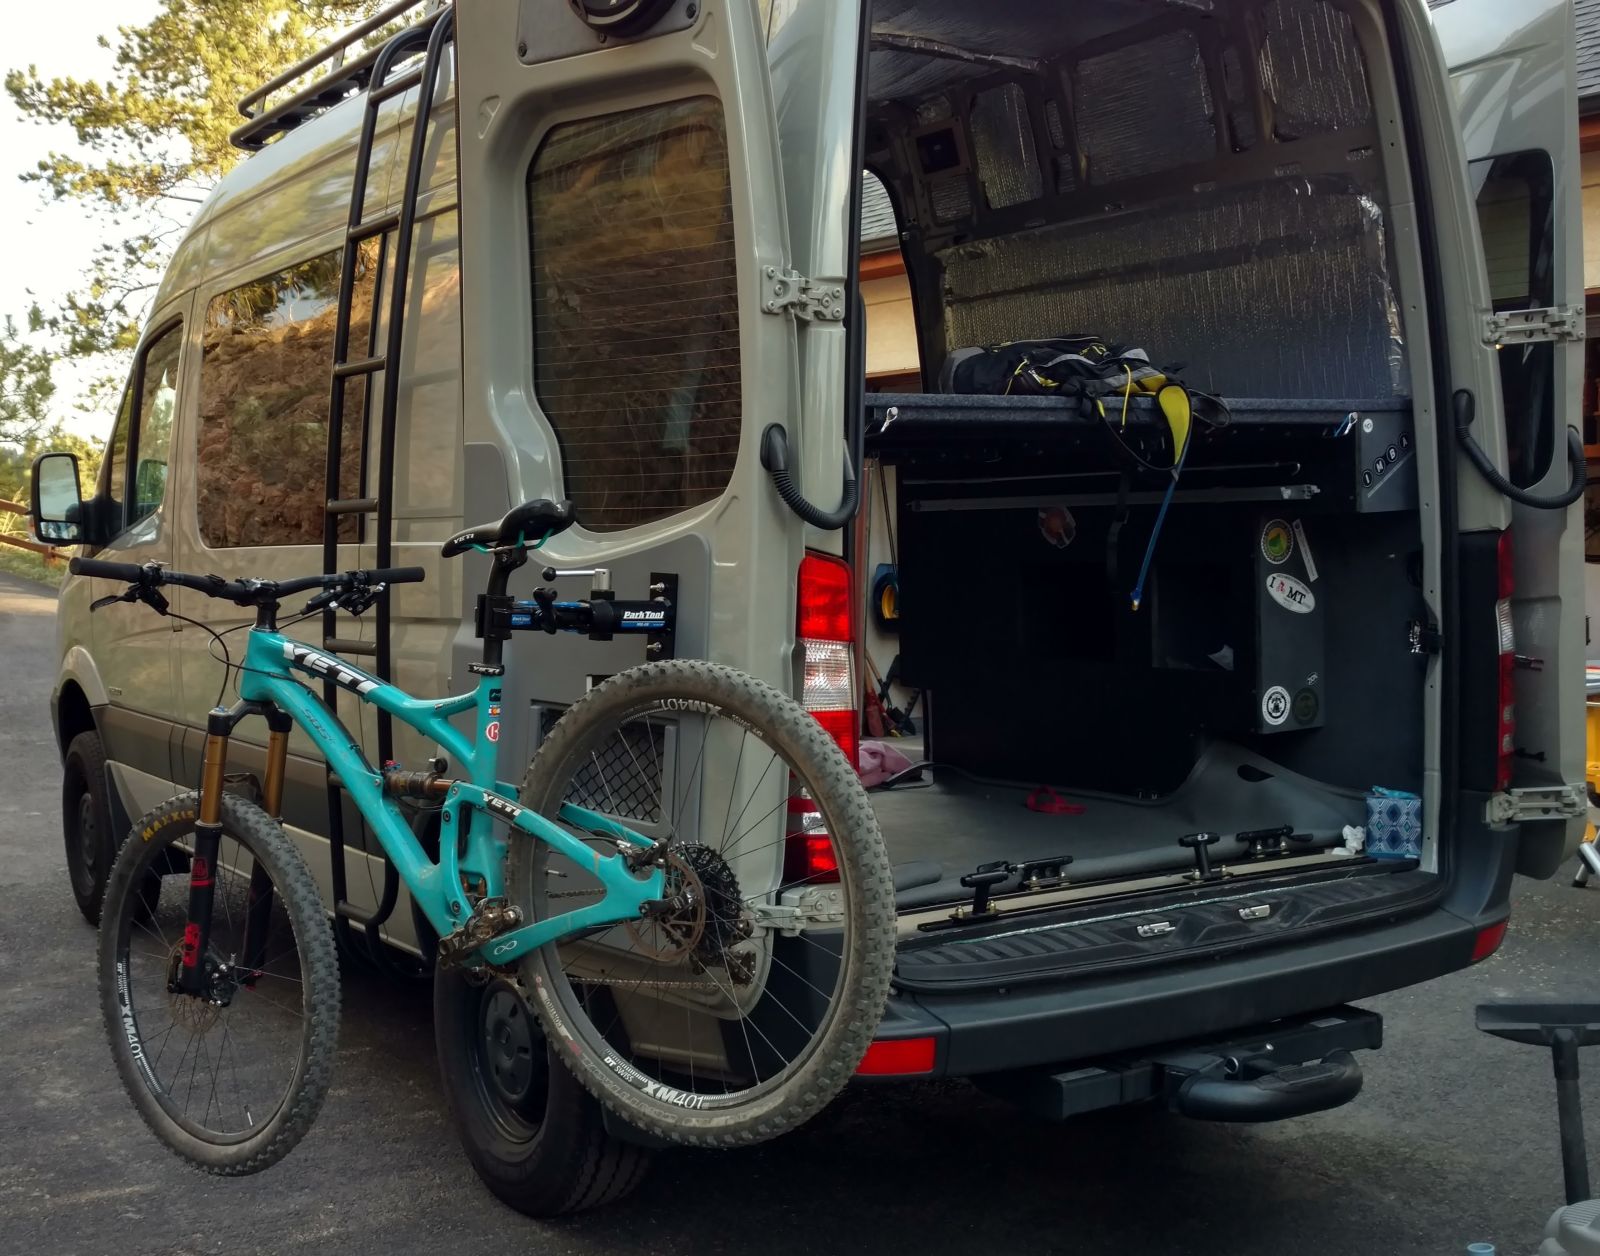
There are many ways to mount bikes in camper vans. There are wall mounts, ceiling mounts, outside bike racks (gaak!), under bed mounts and slide-out drawers. Since we have the platform bed design which was designed around space for the bikes, the bikes will be mounted with fork mounts attached to L-Track which is then attached to the floor of the van. The L-Track provides flexibility to easily move the mounts as needed for different bikes. One piece of L-Track is close to the back doors and one further away from the back doors to allow clearance for road bike handle bars. The L-Track is screwed directly to the 3/4" plywood floor that we installed previously.

Connecting the fork mounts to L-Track requires holes to be spaced 3 inches apart, on-center. This worked fine for the road bike mounts but the Mountain bike fork mounts needed a new hole drilled in order to align with the fittings.

There are many types of fittings for L-Track. We first chose a bolt thread fitting but there was no way to get it to sit tightly in the L-Track allowing it to wobble and rattle. Then I found threaded stud fitting, this cinches to the L-Track making a nice tight fit. The stud fitting also has the additional benefit of sitting lower than the bolt thread fitting, allowing more clearance for the bikes below the bed platform.


The Bike Work Stand
Bikes always seem to need maintenance and repair. We can either bring the free standing work stand or take the much cooler approach of mounting a wall mount bike stand to the van. The Park Tool wall mount work stand is a premium way to go for this.
The stand itself weighs about 10 pounds and extends out more than a foot from the wall. This is going to apply a pretty good amount of torque to whatever surface the mount is attached to.
Attaching the stand to the interior of one of the back doors is really the only practical place to do so. We chose the driver's side rear door since it has less mechanism hardware on it and will not interfere with the slider in case of over-spray of any lubricants or cleaners. To reduce stress on the hinges due to torque, the mount will also be located as close to the hinge side of the door.
The inner sheet metal of the door did not seem like it would have the strength or even a good mounting surface for the bike stand, so a steel plate will be attached to the door as a backer surface. This is attached via bolts and Rivnuts.


Missed taking a picture here. Holes are drilled in the steel backer place that align with the holes in the bike stand. These holes also fit within the opening in the door. The mounting bolts are then fed from the back, through the backer plate and then a lock washer and threadlocker on the bolt. In order to prevent wobble and undue stress on the mounting bolts, there is a spacer glued to the backer plate. The spacer is the size and shape of the bike stand plate and the thickness of the nut & washer so that the full bike stand metal is in contact with the backer plate. This helps prevent any wobble. The bike mount is then fed onto the bolts with a flat washer, lock washer and nut.


A thing to note is that when removing the door panel, there will be a good amount of breakage to the attachment trim clips and the molded thingys on the back of the door panel that hold the clips. You can order replacement clips on ebay and crazy glue the breakage on the back of the panel to make it all work. Be sure to buy enough clips, there are about 13 on each door panel.


Materials Used:
Steel cutting blade for table saw
Do you have any idea what the part number for that cargo door panel is? I am going to try and install them on my rear doors by drilling the holes for the green clips. My low top cargo sprinter didn’t come with that style and I have been looking all over for a part number to make this happen. Thanks
Hey Chad….I don’t know the best way to source those panels since they came in my Crew van. I will be replacing them at some point with custom panels similar to the wall panels that are built in this video, https://www.youtube.com/watch?v=lI9NlF7YWdY. I would suggest doing the same as it will be cheaper and have a better result. Good luck!
Thanks! I hope to have the time to do this in the future to replace a poorly designed upfit from explorer.