
Vanlife shower
One of the challenges of life on the road for an extended period is how to get a shower. Often, campgrounds, recreation centers, fitness centers and aquatic centers offer free or low cost showers. When these aren't available, we've relied on solar showers that are essentially a plastic bag that you leave out in the sun to heat for a few hours. When the water gets warm enough, you hang up the bag and shower via the gravity fed hose. This is a low-cost, low-tech solution that just works. The drawback to this is that we've never found one with a good shower head and a convenient on/off valve.
We've seen the Road Shower advertised and it looks like a good solution, but seemed expensive for what is essentially an aluminum tube.
We've considered building a DIY roof shower using PVC pipe and fittings. There are several youtube videos and posts showing how to do it. The cost of these generally comes out to about 25% of the Road Shower, but they really look terrible.
Many folks have installed water tanks and pumps and water heaters in their vans. This would be the most elegant approach, but it is a pricey and space consuming solution. We have the 144" Sprinter and our bikes are stored inside, we just don't have the space for that much additional equipment inside the van.
We put this decision aside for a while and continued to use the solar showers with frustration.
As we were getting ready for our biggest trip to date, we decided that it was time to install a shower of some sort. We found that Road Shower was offering a discount via their eBay store and finally pulled the trigger.

Road Shower 4L
The first impressions of the Road Shower is that it is very well thought out, engineered, manufactured and packaged. I was able to save a few bucks on shipping by picking up the Road Shower at the distribution center in Denver. The Road Shower is a very simple device, but just about every aspect of it is well done, from mounting, securing, filling, pressurizing and draining. The function that is left to the consumer is how to actually take a shower. I'll assume that this last bit is because it will vary greatly depending on the vehicle, mounting methods and personal preference.
Mounting the Road Shower to the van was a snap using the provided brackets and bolts since we already have an Aluminess roof rack on the van.


The Shower Part
Road Shower separately offers an accessory shower head with a gooseneck hose that holds itself in place. Theirs is only about 18" long and is not adequate for the high-roof Sprinter. My first attempt was to replicate this with a longer gooseneck hose which is actually a stainless steel gas supply line for a clothes dryer. Unfortunately, this could not support its own weight and just laid along the side of the van.

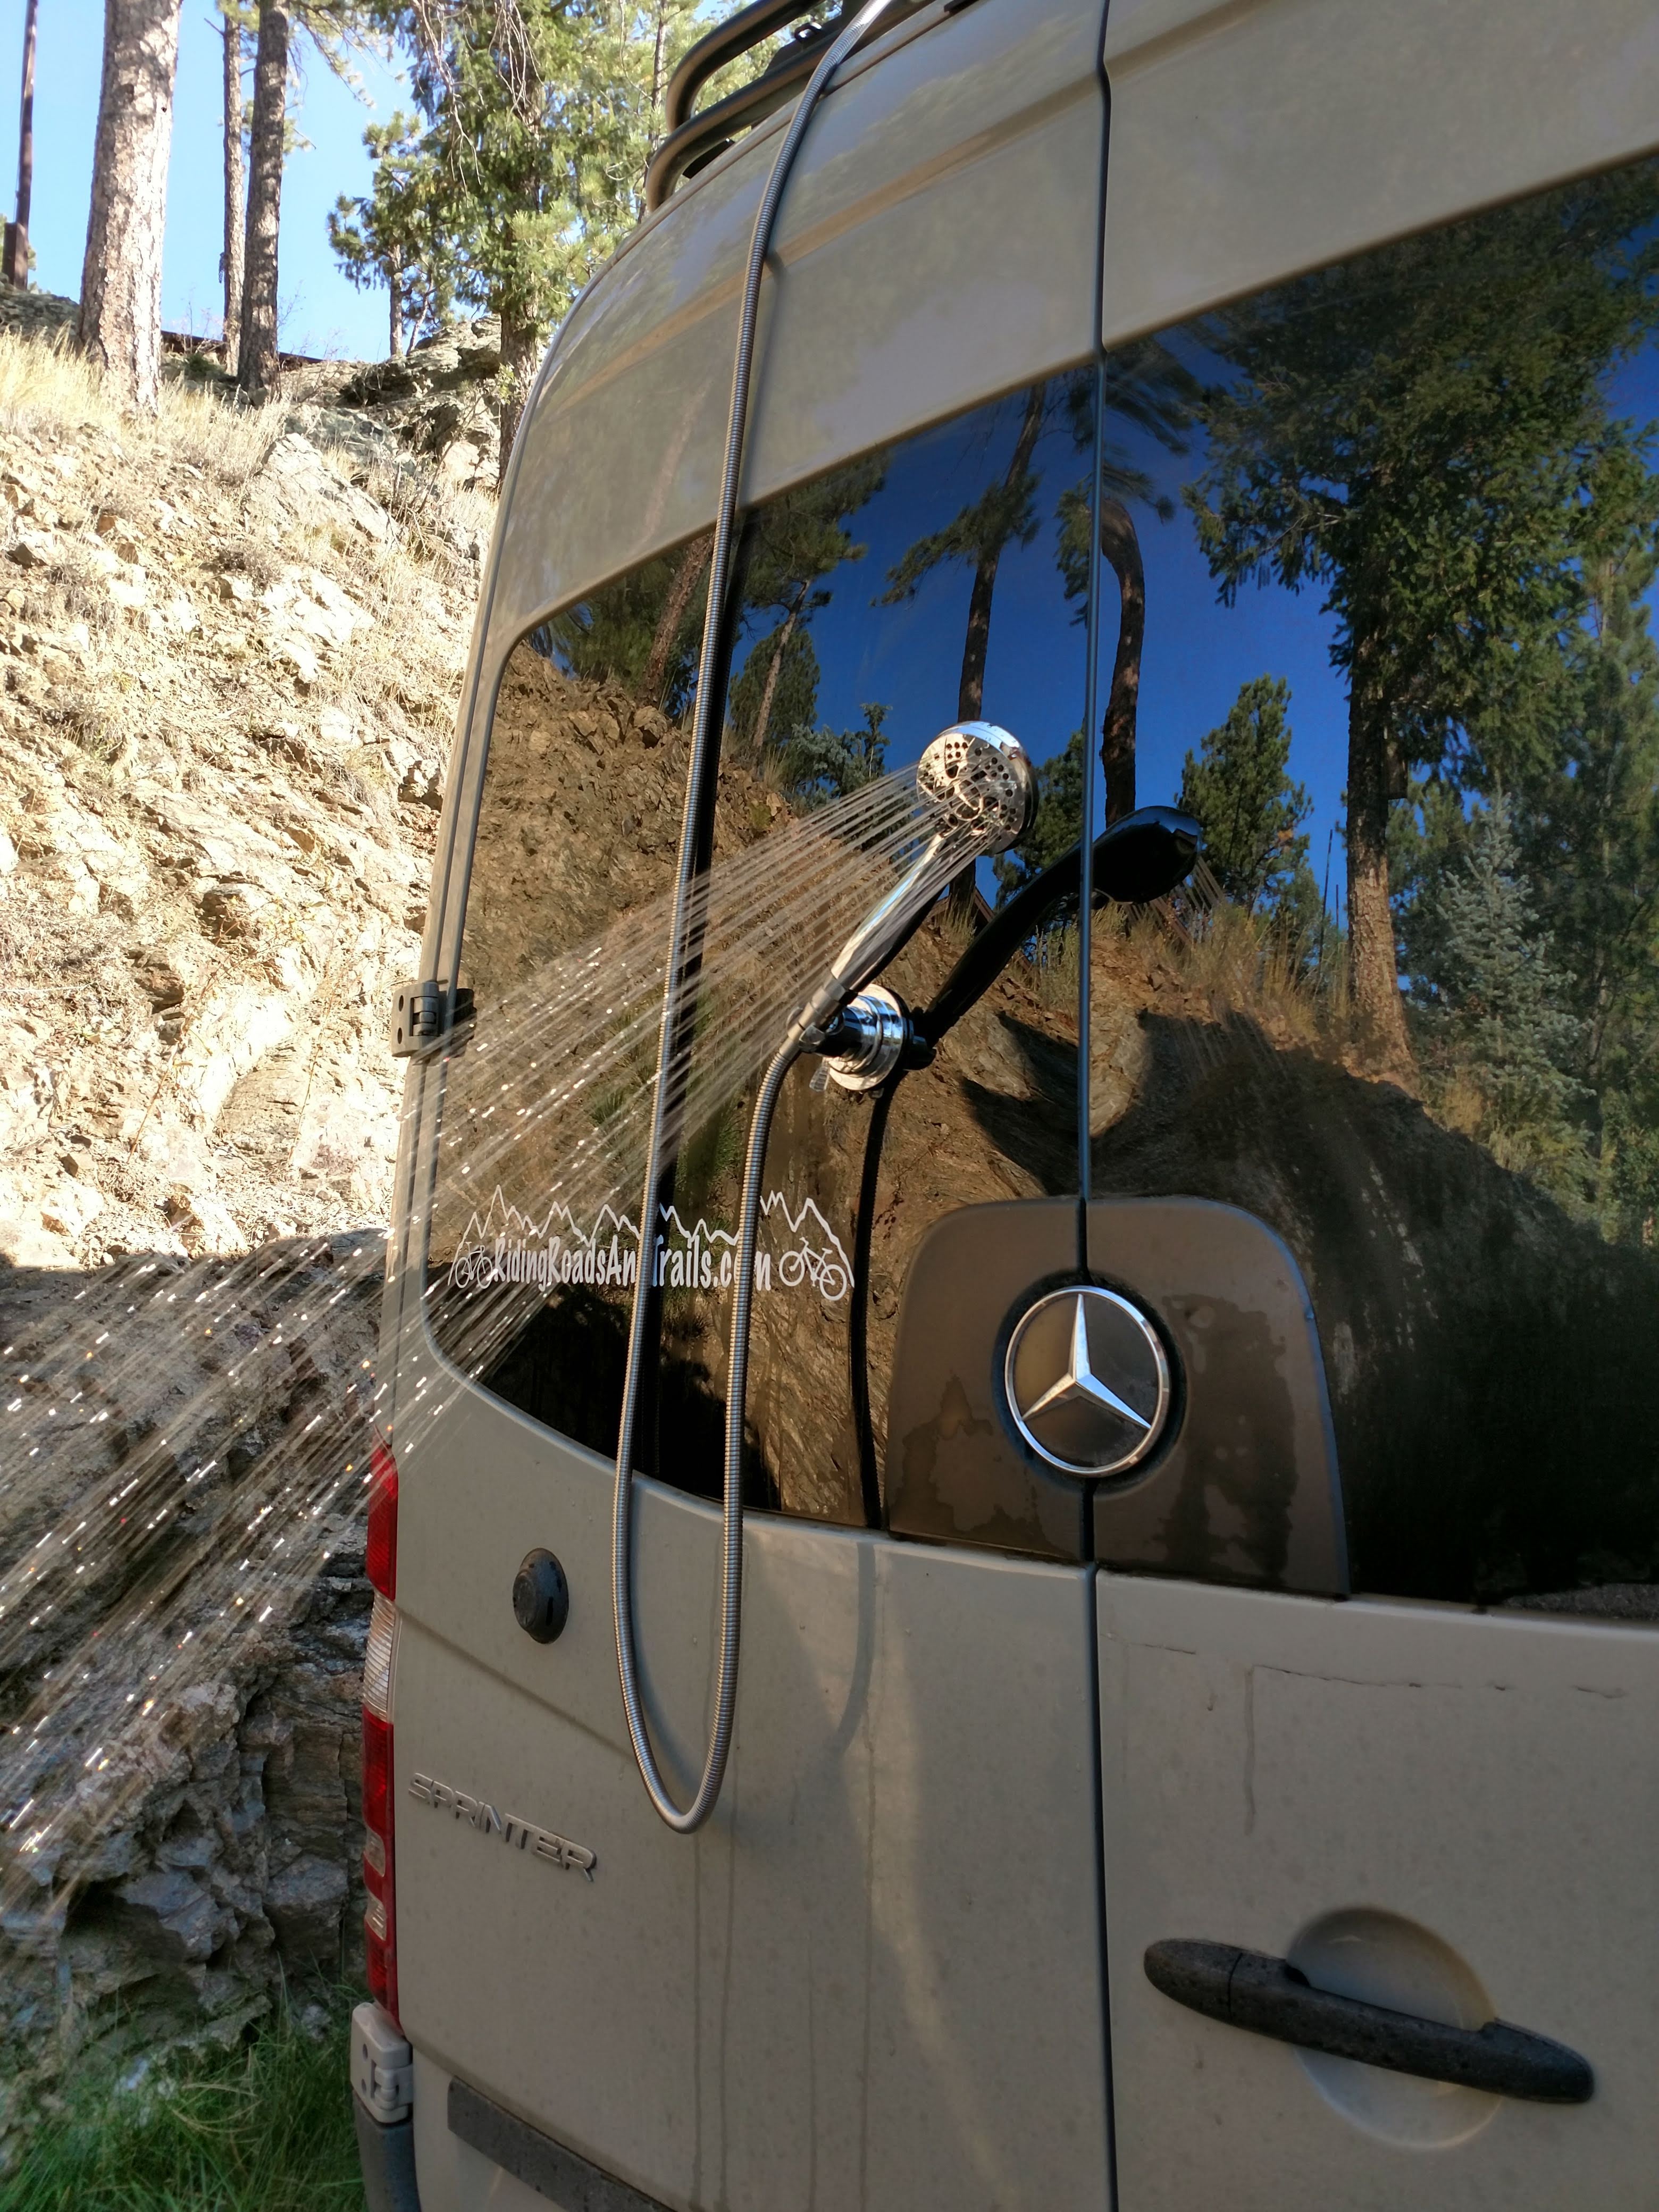
The next solution is a more traditional shower set up, which works much better. This consists of a quick-disconnector an extra long showerhead hose extension, a handheld showerhead, a suction cup wall mount showerhead holder and shower head shut-off valve. The big benefit to this is that you have control over the water flow at the shower head with the shut-off valve. The suction cup mount provides flexibility for the shower height and angle of spray. The long hose extension provides flexibility for mounting location as well.

Using the Road Shower
Filling and pressurizing the Road Shower requires a trip up to the roof of the van. Fortunately, we have a very sturdy Aluminess roof rack and ladder that makes this less tenuous. Depending on the location of the nearest spigot, we can use a garden hose or bucket brigade to fill the Road Shower with water. The filler port is designed to leave approximately 2 gallons of air on top of the 10 gallons of water so that pressurization is effective. Once the water is in and the filler port plug is threaded back in place, you can use an air pump or compressor to pressurize the tank. We use a small compressor that has a built in digital pressure gauge and automatic shutoff to easily bring the tank up to pressure. Once again, the height of the van caused a small difficulty in that the power cord was not long enough to have the compressor on the roof. To overcome this, I simply spliced in a few extra feet of length in the power cord.
The total process for taking a shower includes:
- Fill the Road Shower if it is empty.
- Add air pressure if it doesn't already have some.
- Allow time for the sun to warm the water
- Connect the shower head assembly to the Road Shower.
- Ensure the shower head cutoff valve is closed
- Open the valve that the shower head assembly is attached to.
- Attach the suction cup shower head holder to a surface where you want the shower head.
- Insert the shower head into the shower head holder.
- Open the shower head cutoff valve.
- Enjoy!
When you are finished, you need to get back up on the roof to close the main valve and disconnect the shower head assembly. You may also want to add additional air pressure to the Road Shower if there is still water remaining in the tank.

The last piece of this will be a privacy shower curtain. So far, we've only used the shower in places that are remote enough that privacy is not a concern.
The upsides to using the Road Shower:
- The Road Shower looks much better than a DIY roof shower.
- The shower water is pressurized, giving a nice satisfying shower.
- Solar heating is free!
- I had expected to be able to feel the additional 110 lbs on the roof, especially on turns. However, I was not able to detect any degradation on the handling of the van with the Road Shower whether full or empty. This is more of a compliment to the Sprinter than the Road Shower but it was a concern going into this.
- I have an appreciation for the quality design and build of the Road Shower.
The downsides:
- Since we have a high-roof Sprinter, you need to climb the ladder to get on the roof before and after each shower for prep and breakdown.
- The water does not get as hot as the bag solar showers or tankless water heaters but it generally gets warmer than the air which is adequate depending on just how warm the air is.
Update:
Folks from Road Shower had reached out after seeing this post to ensure we were satisfied with our Road Shower and provided this info from their FAQ regarding how hot the water will get when using the Road Shower:
2) How hot will it get?
Road Shower uses the renewable energy of the sun. The sun heats the black surface on the outside which heats the water on the inside. The water temperature rises 12-20 degrees per hour on a warm sunny day. If your water starts at 60 degrees, it should be 90+ degrees in about 2 hours. On a hot sunny day the water can get to 110 F, on a really hot day it might scald you, so be careful. Just feel the tank with your hand. The water will be the temperature of the tank. For added safety, spray some water on your hand to see if it is too hot. Check out our accessory page for where to get a little stick on thermometer. Allow about 10 seconds to drain the hose and get the heated water from the tank. If the water is too hot, wait until it cools or drain some and add a gallon of cool water. It heats up while you are driving down the highway, 4 wheeling, or parked somewhere in the sun. The Road Shower does not heat water as well if the outside temperature is below 70 degrees and/or the sun is low in the sky, or during cloudy days. However, if the water is about 70 degrees in the tank, you can heat 1 gallon of water on a camp stove, add it to 3 gallons of water in the tank, and the water will be about 100 degrees.
We are working on a neoprene cover with a solar collector for those cooler climates. You can use a portable instant hot water heater as well.
Our prior experience was with the camp shower bags that have a clear plastic side that faces the sun and a black back side for the heat collection which together work to maximize the "greenhouse effect". This makes better use of the solar energy for heating water than the current design of the Road Shower can. However, while the camp shower bags are effective at heating water, they are frustrating to use as a shower. Despite this discussion on water temperature, we still consider the Road Shower to be a very good solution to showering on the road.
Update: Since this post was published, Roadshower has been bought out by Yakima. I am unaware as to whether Yakima has made any changes.