
So far in the build, we've been focused on functional improvements and trying to leave the "finish" work to the end phases so that it won't get ruined while doing other work. However, while working on the design for the slide-out kitchen, it feels like it makes sense to have the floor in place first so that we don't have to cut around it later.
We've already insulated and improved the subfloor as documented in this post: https://ridingroadsandtrails.com/diy-sprinter-van-insulated-floor/
There are many choices of flooring materials, but I particularly like the black raised coin vinyl flooring that many of the van upfitters use. It goes along with the industrial look we've been going for and provides some degree of weather and spill resistance.
There are several manufacturers of this type of flooring, the premium version being Lonseal Loncoin II. I don't usually cut corners on materials, but in this case Home Depot had a similar product with mostly positive reviews for about half the cost. Time will tell if this was a good decision.
 Unrolling the Home Depot flooring
I had previously upgraded the plywood subfloor but now had to prime it so that the vinyl adhesive would adhere properly. Since everything we've added to the van is bolt-in, it is very easy to take everything out to prep for the floor.
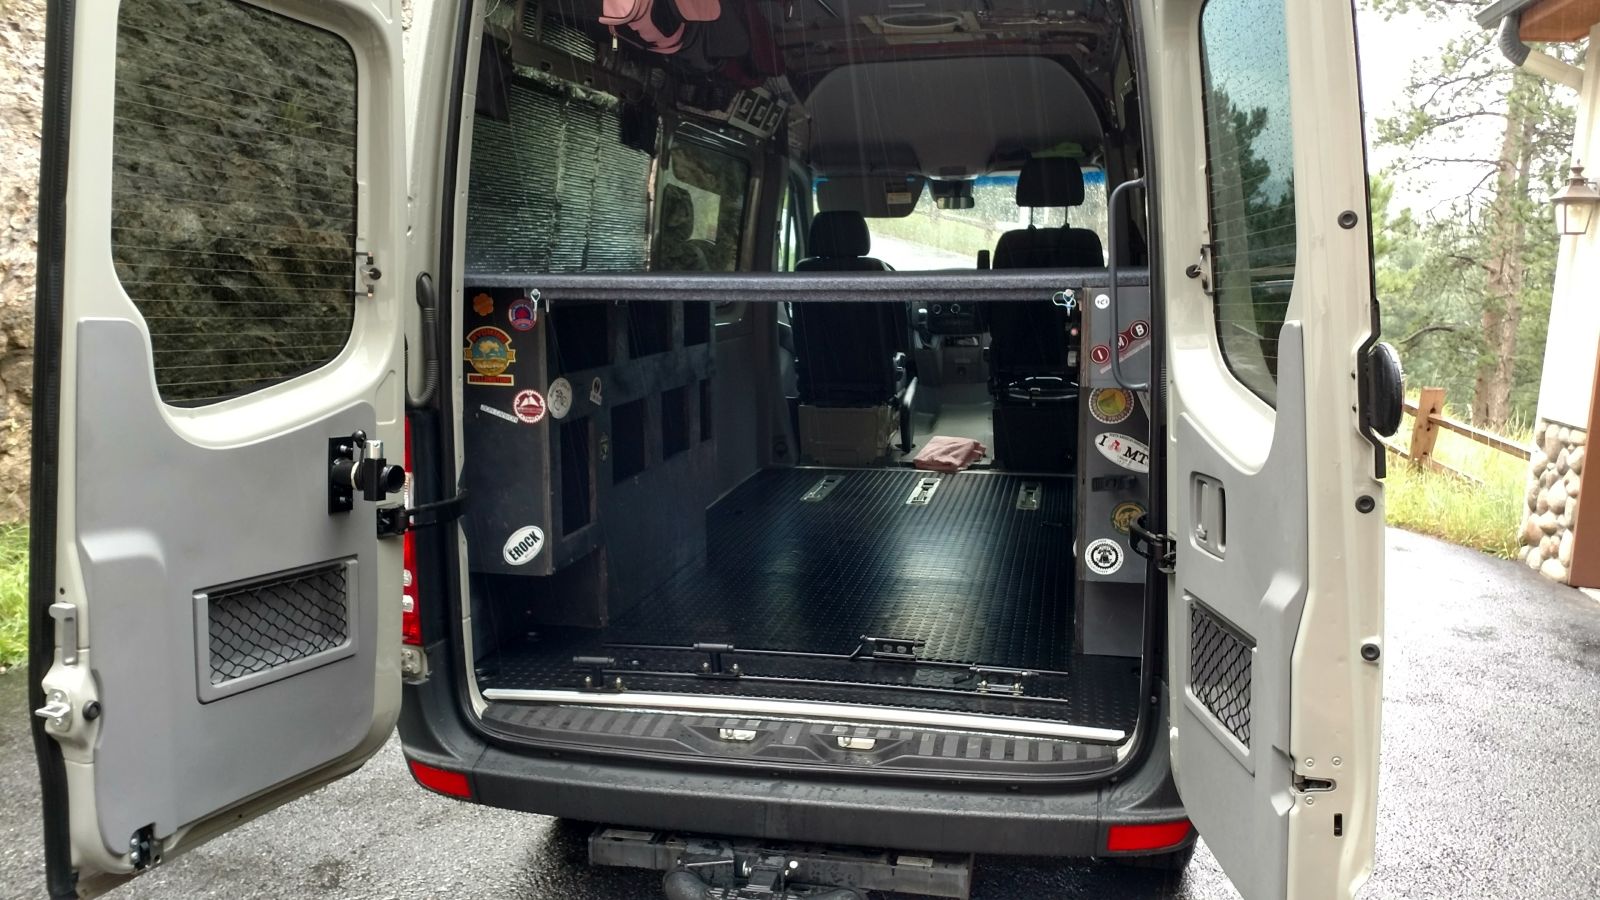
 Empty the van, mostly.
The plywood floor is primed and reinstalled.
 2 of the 3 floor sections getting primed
Next, the vinyl roll is cut to fit, this goes well using a utility knife with a sharp blade. With the flooring dry fitted, it is time to glue it down. We pulled the floor back on itself, revealing half of the plywood. A good tip here would be to place some very heavy weights on the side that is not being pulled back so that the floor does not shift when you pull the other half back. Once the glue is down, it is much more difficult to reposition the vinyl. You do have time to work with it, it is just harder to do.
The glue is applied with a notched trowel 1/32" x 1/32". I applied it in roughly 18" sections, working from the middle to the end, unrolling the vinyl with each section and working the air bubbles out as I went. Once the front half was complete, repeat the process for the back half of the van.
 Troweling on the vinyl adhesive
The last thing was to place heavy objects around the perimeter as the vinyl was curling up a bit. Once glue dried overnight, it held tight.
 Holding down the edges
We were able to reuse the aluminum thresholds that came with the factory floor. They aren't beautiful, but they will work until we find something better.


How’s the coin vinyl flooring holding up?
Hi Asa. After a year of use, there are no signs of wear and no damage has occurred.
What was the adhesive you used? Is it still holding up well? Any bubbling? Thanks!
Hi Kevin – the adhesive I used is linked in the material list above. After 3 1/2 years there are no problems with either the vinyl flooring or the installation.