Wifi Connectivity in the Sprinter van
A lot of folks that take road trips are looking to get away and disconnect. For them, this means to disconnect from the electronic world of cell phones, email and the internet. This is not the case for us as we like to be able to connect as if we were at home or work. Our travels often take us far from centers of civilization, out to where the 1% of people that are not covered by Verizon live and play. The challenge for us is to get connectivity in these areas. There is no magic to this, if there is no signal, there is no connectivity. However, sometimes there is signal that is just not strong enough for the cell phone antennas to work with but still good enough for more powerful devices. This is the fringe where we will try to take advantage.
Signal Booster
There seem to be 2 main ways to capture this weak signal to make it work for you. The first is a signal booster device such as the WeBoost. When I began researching this device, I was immediately turned off by their aggressive marketing. During my research, I sent some technical questions to them and the responses sounded more like marketing info than answers to my questions. I was skeptical about the product because I had read that the signal boosters do not discern between noise and signal. They amplify any signal that it finds which in some cases can be destructive to the useful signal. In the end, it seems like the signal boosters sometimes help, sometimes do nothing and sometimes negatively impact performance.
MIMO Antennas
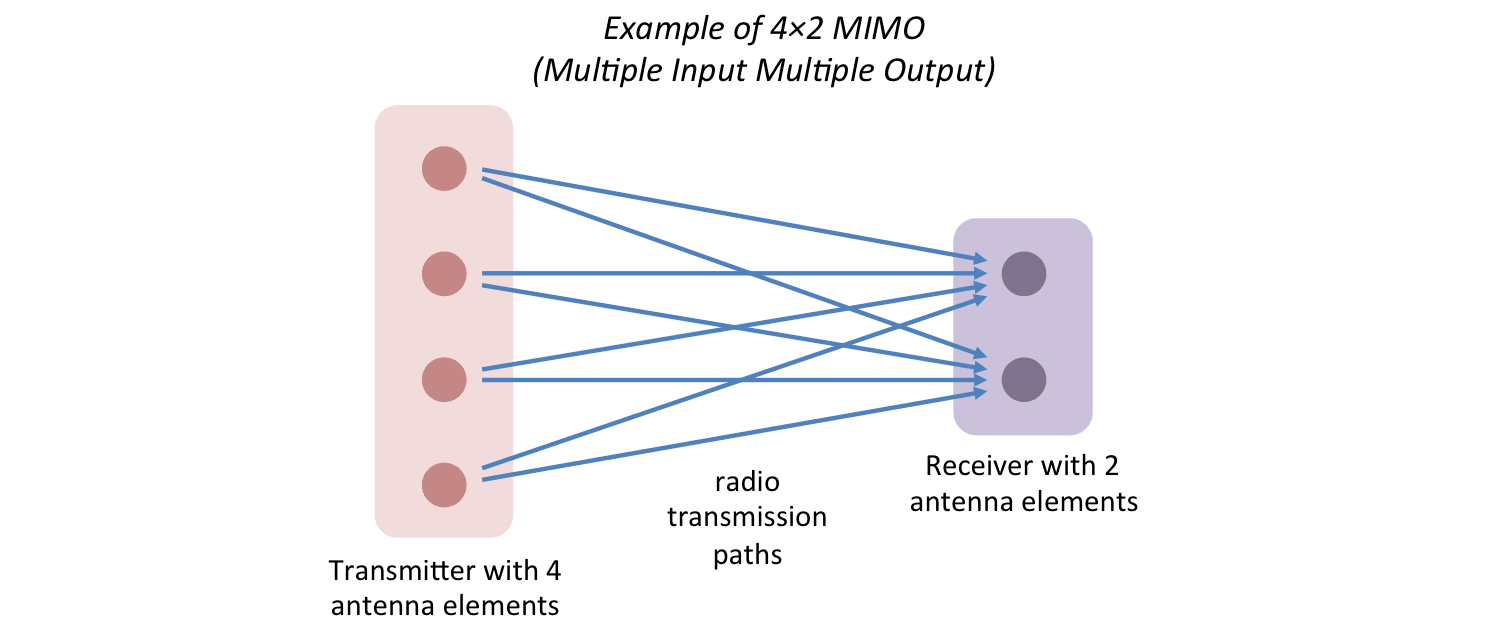
The second popular option is to get a MIMO LTE antenna and a mobile router that supports MIMO LTE antennas. What is MIMO? As part of the 4G LTE cellular specification, Multi In Multi Out (MIMO) antennas are used for transmission of the cell phone signals. This is explained better in this article. The crux being that the signal is transmitted in off-phase waves by staggering antennas at the transmission point. It makes sense that signal reception would improve with the same staggered antenna configuration on the receiving end compared to a single antenna receiver.
The Selected Wifi Solution
My preference is the second option since it always offers better performance. When researching the MIMO antennas, there are 2 main classes, fixed and mobile. The key difference being whether they are directional or omni-directional. The fixed version can be pointed toward the transmitter, so it can be optimized for a single direction. However, the mobile version needs to be able to receive signals from any direction since its mount point is on the move. There are a number of manufacturers producing omni-directional MIMO LTE antennas. The ones I ran across in doing my research were Panorama, PCTEL and MaxxFi. I got the one from PCTEL since I was purchasing locally and this is the one the folks at Astral Communications recommended for performance and reliability. The specifications for each of them are pretty close.
Many of these antennas are built as 5-in-1 solutions in that they have the 2 LTE antennas, 2 wifi antennas and 1 GPS antenna, all within the same shell. I found this convenient so that I didn't have to determine placement for multiple antenna housings. I will not be using the GPS capability, however.
Mobile Wifi Router
For the mobile router, Cradlepoint seems to be THE solution in terms of having the required functionality and being ruggedized. Verizon offers a hotspot that does essentially the same thing that is much less expensive than the Cradlepoint product. However, I did not find a Verizon model that both supports a MIMO antenna and is ruggedized.
I selected the Cradlepoint IBR900. This is the most current model. The main decision point was IBR900 or the IBR1100, they are the same price. The newer model has additional power and the marketing speak says it is more "future-proof". It does not support 5G, so I don't know how they can claim "future-proof". The IBR900 model also does not support 2G or 3G while the IBR1100 model does support 3G. When using cell phones, they do sometimes fall back to 2G (1x) and 3G, thus the IBR900 router will not be useful in these areas. The decommissioning of 3G is scheduled to be completed by 2021 or so and 3G has already been decommissioned in parts of the country. I was strongly encouraged to forego the 3G capability in favor of the superior newer model router, so I did.
Antenna Installation
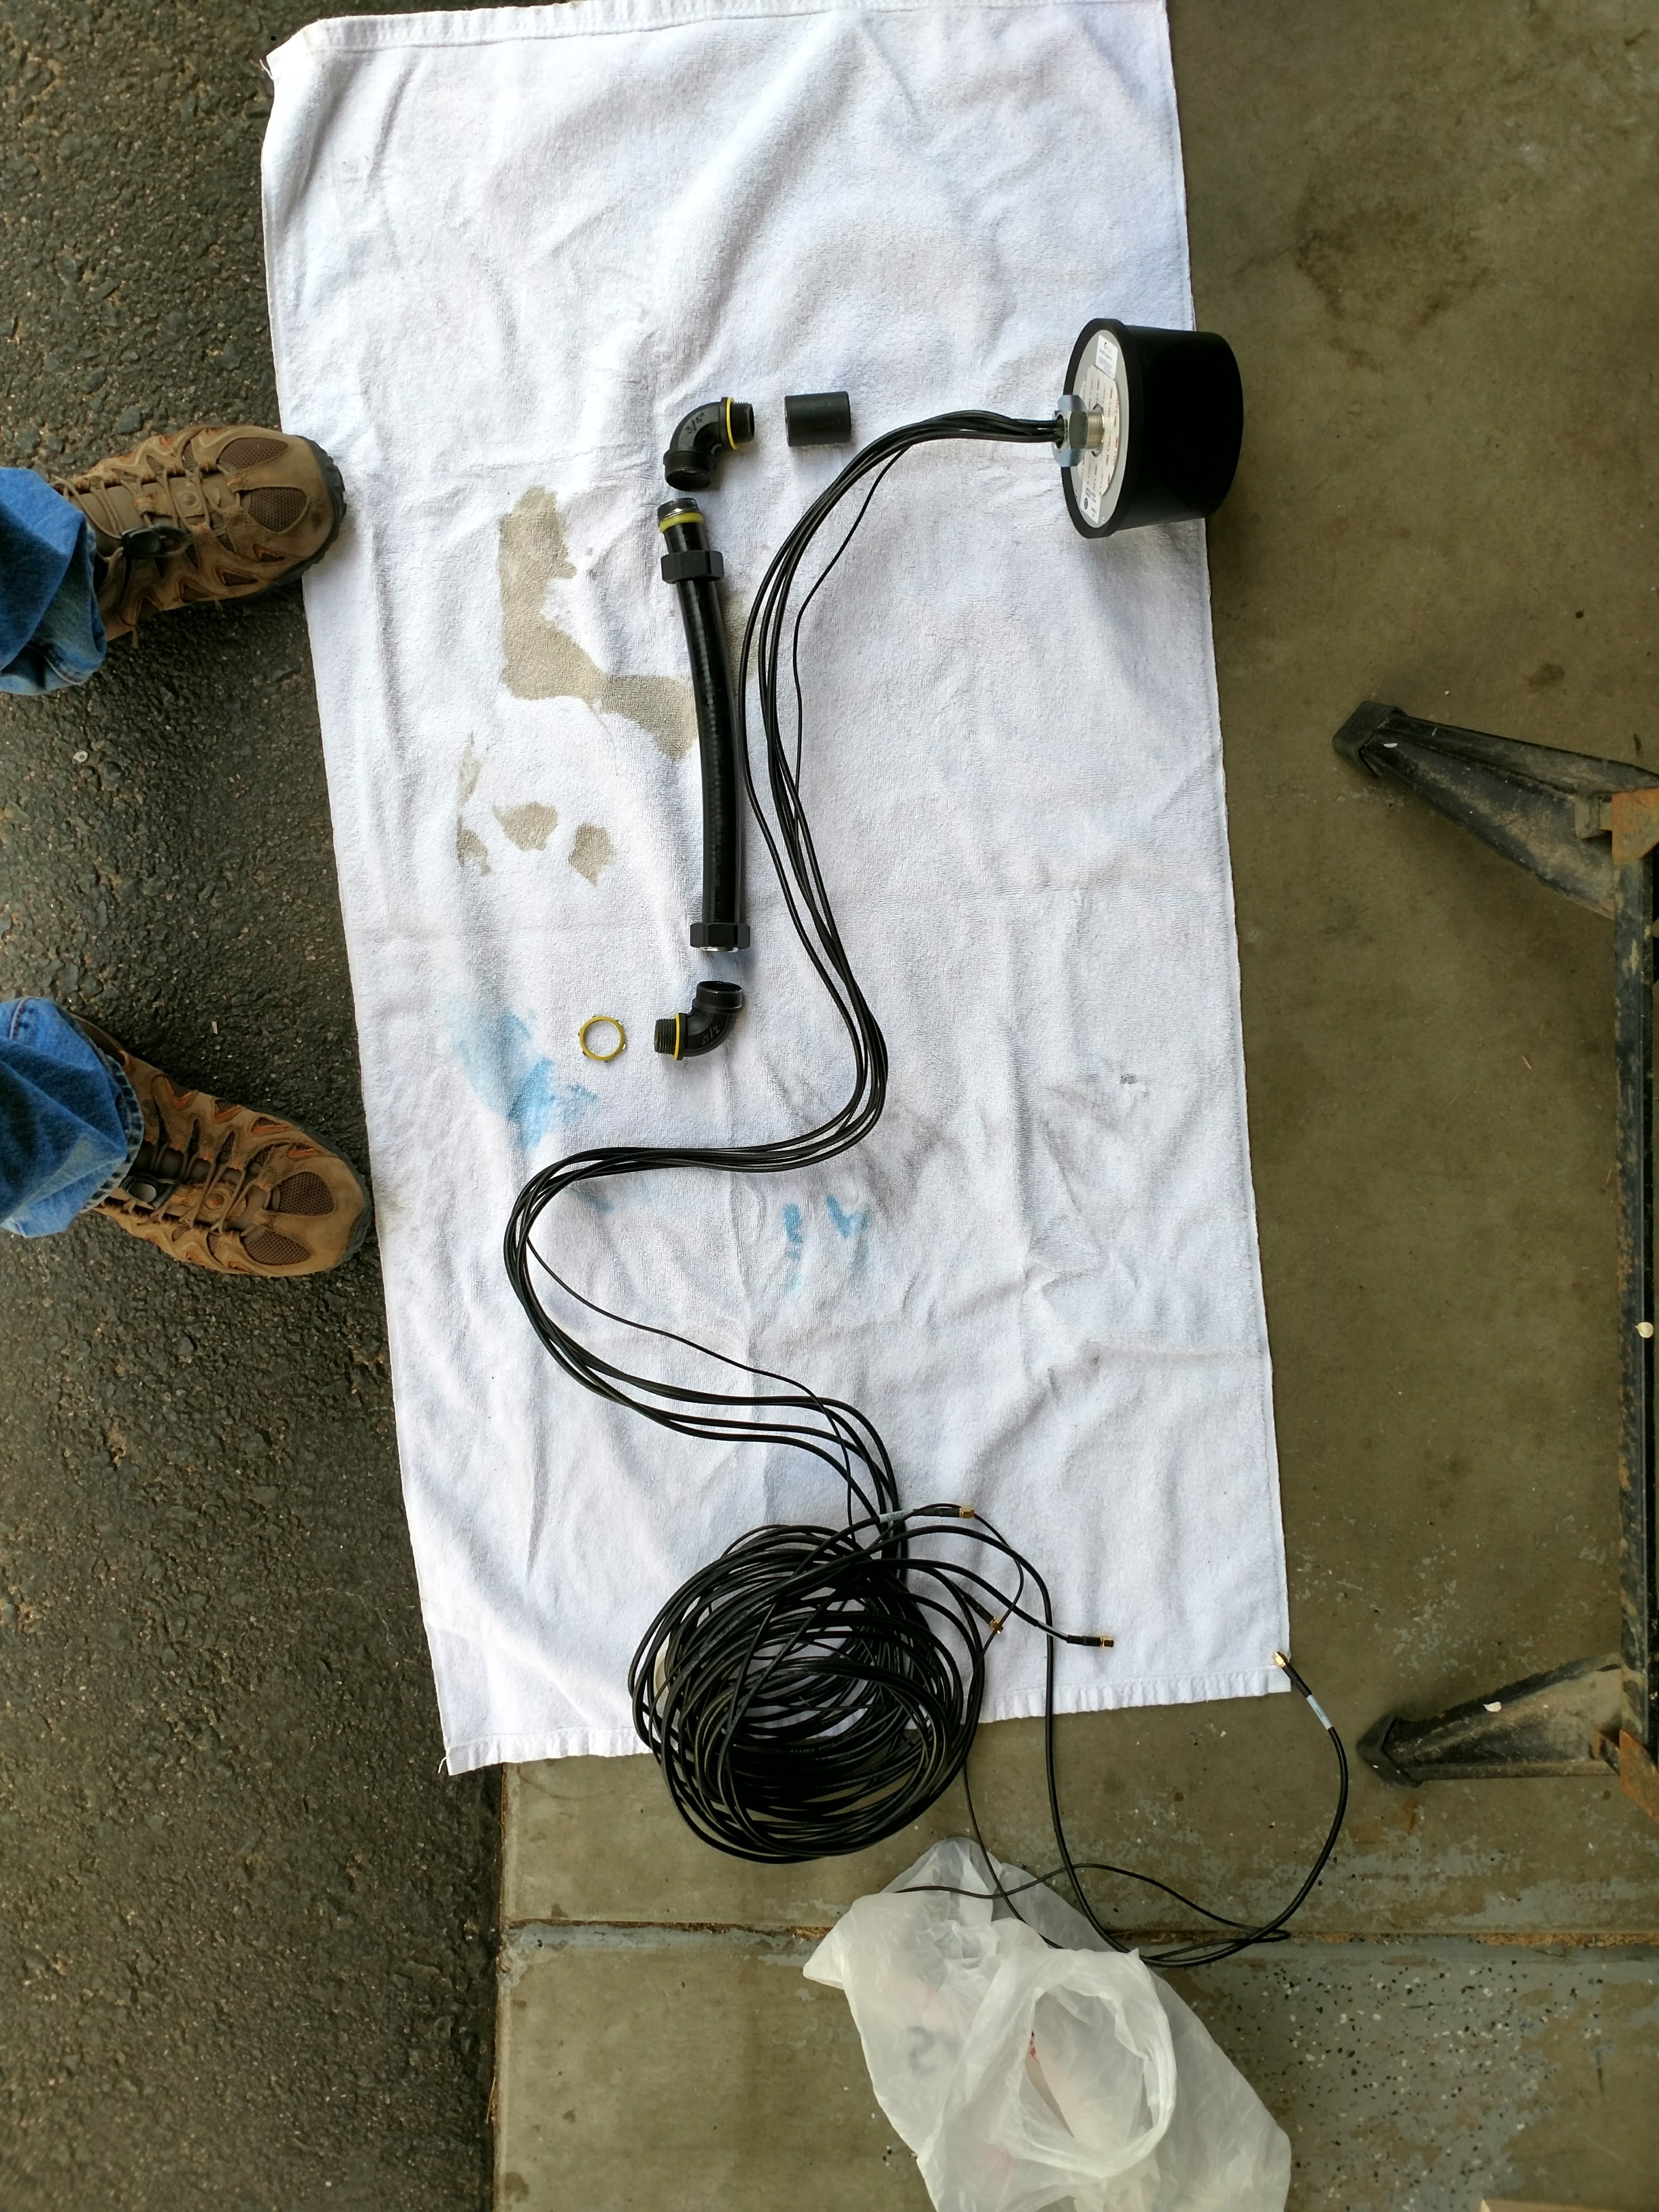
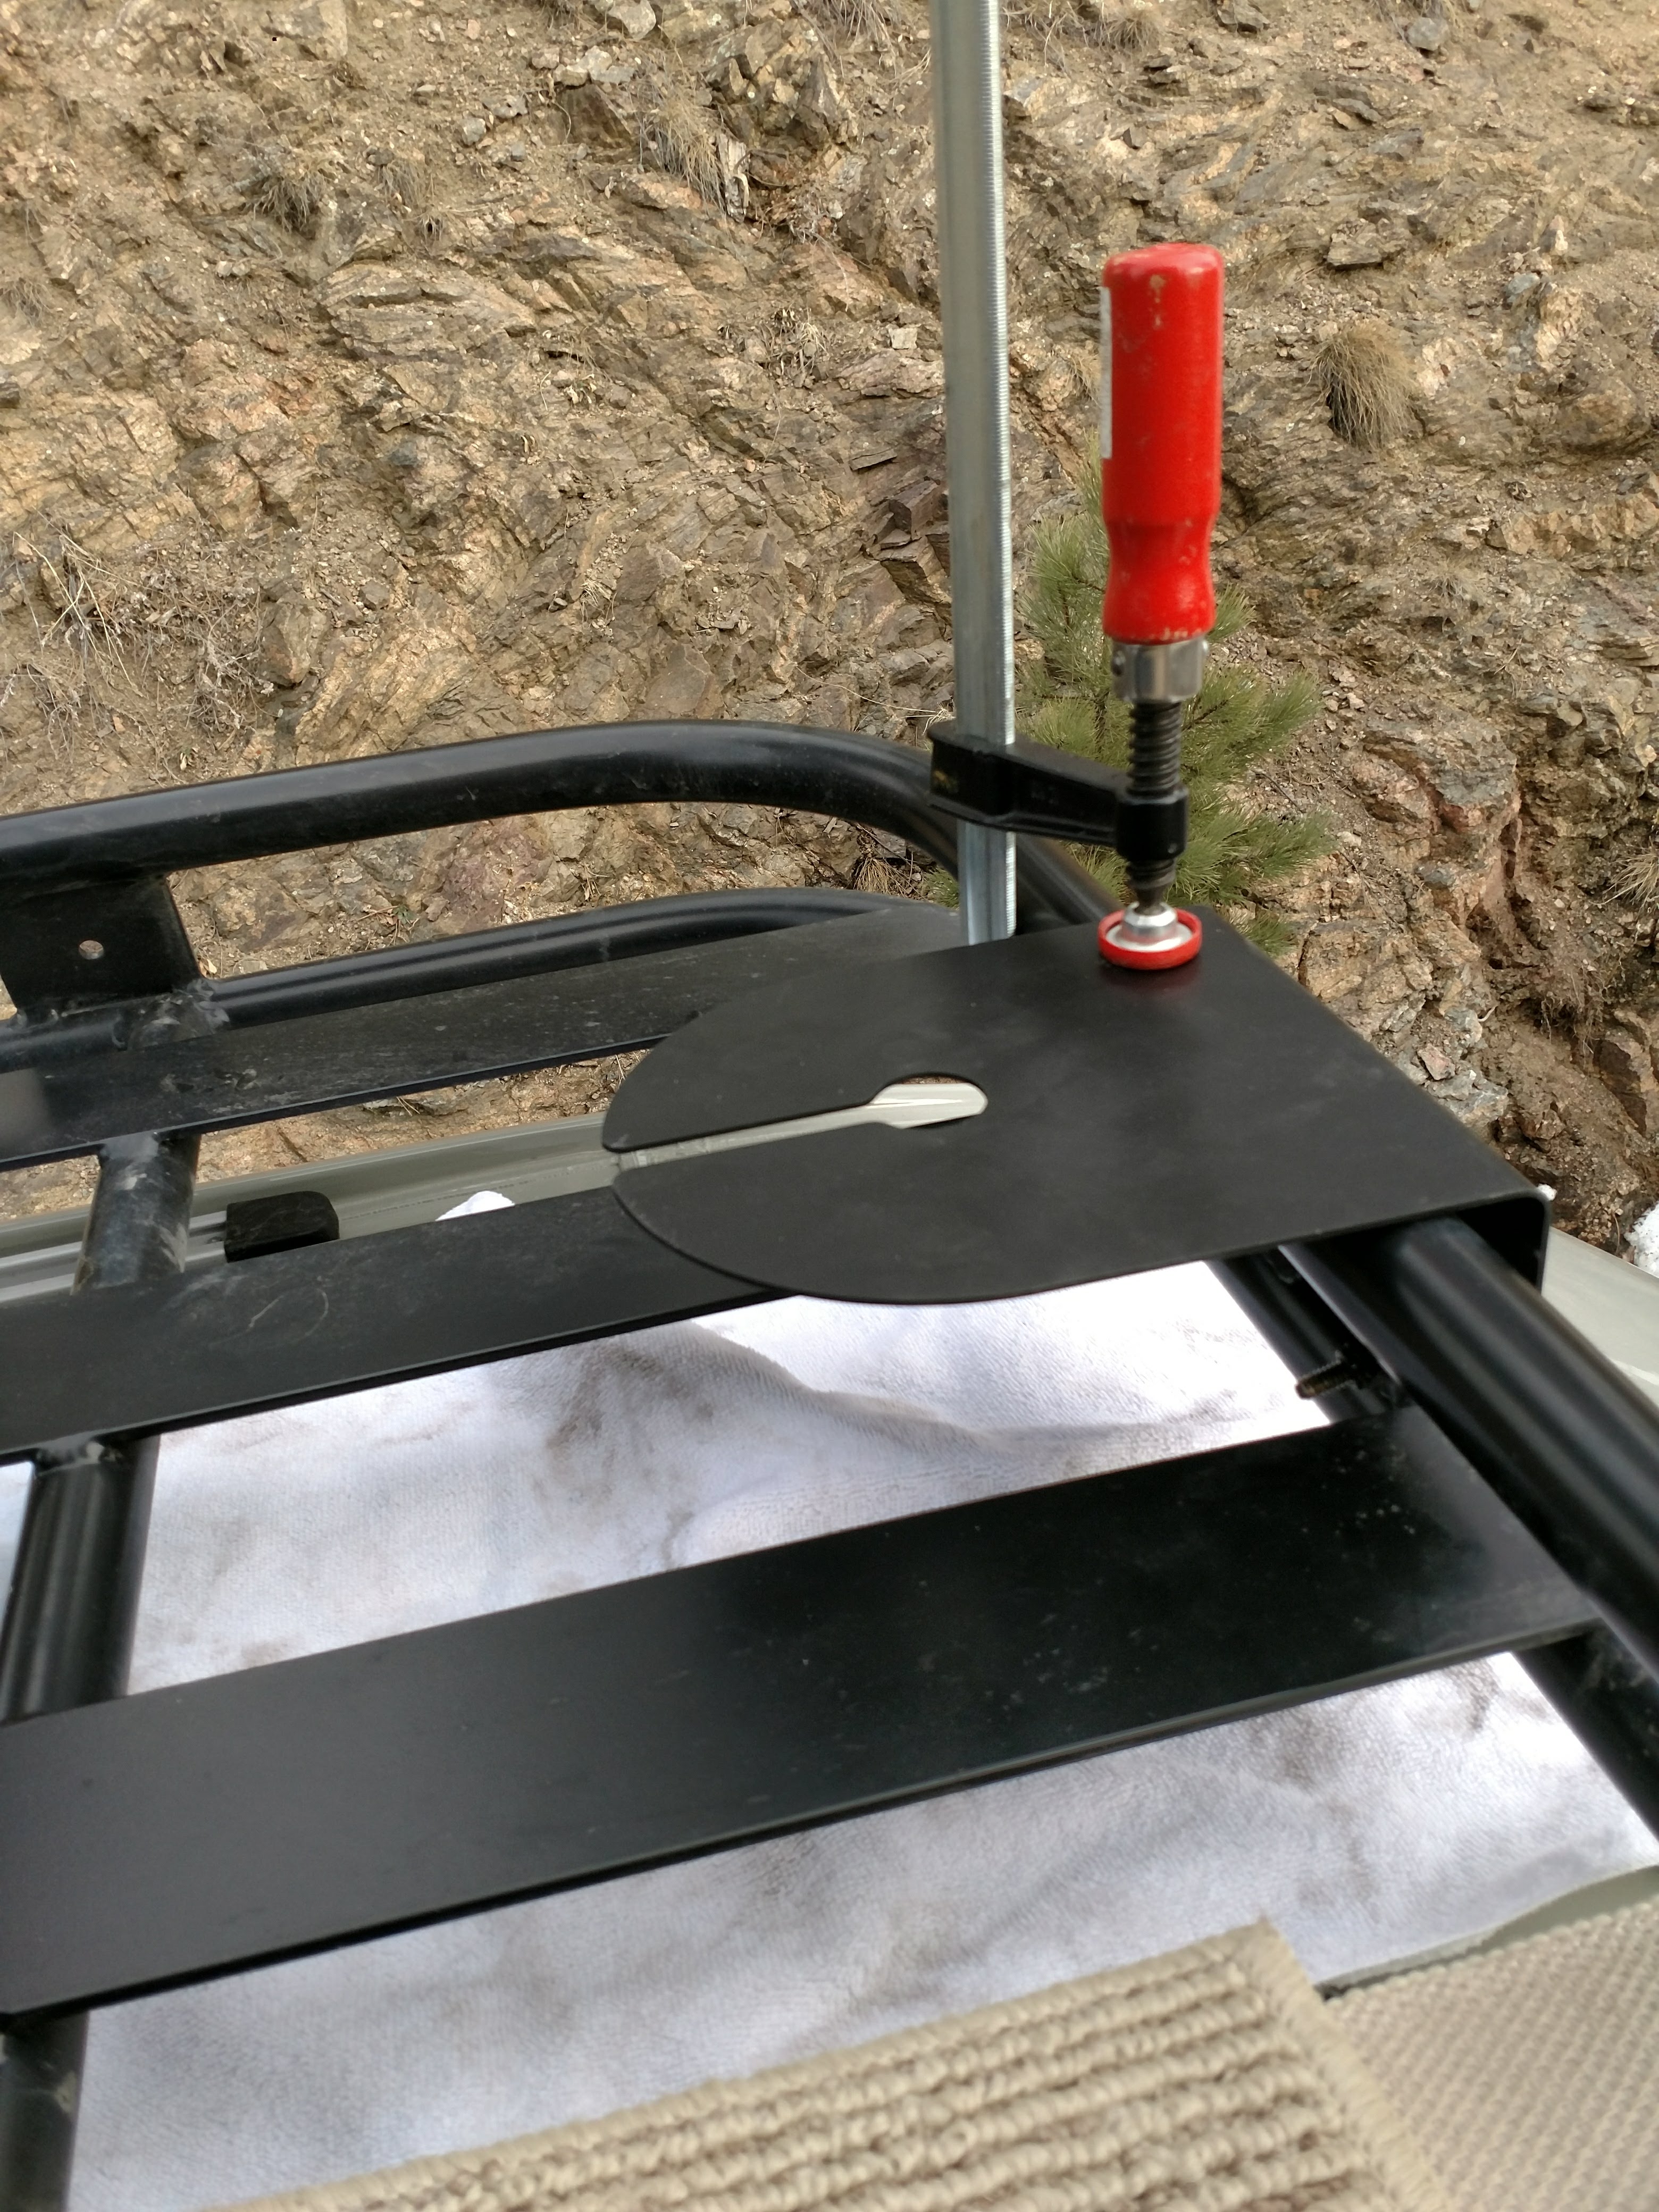
With the equipment in hand, purchased locally from Astral Communications, it was time to determine how to best mount it in and on the van. I have the Aluminess roof rack that sits a few inches above the van roof. I was concerned about the interference that could be introduced by the aluminum slats on the roof rack if I were to mount the antenna directly to the roof of the van. The Astral folks had a custom mounting plate for the antenna that I could use to get the antenna above the rack to avoid the interference. I then needed conduit to run the 5 coax cables from the antenna, through the roof and into the van. I found flexible Liquid Tight conduit and Liquid Tight fittings to create a watertight seal that would also allow movement between the roof rack and the van since there is some flex on the roof rack itself.
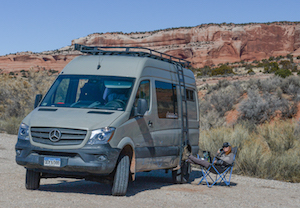
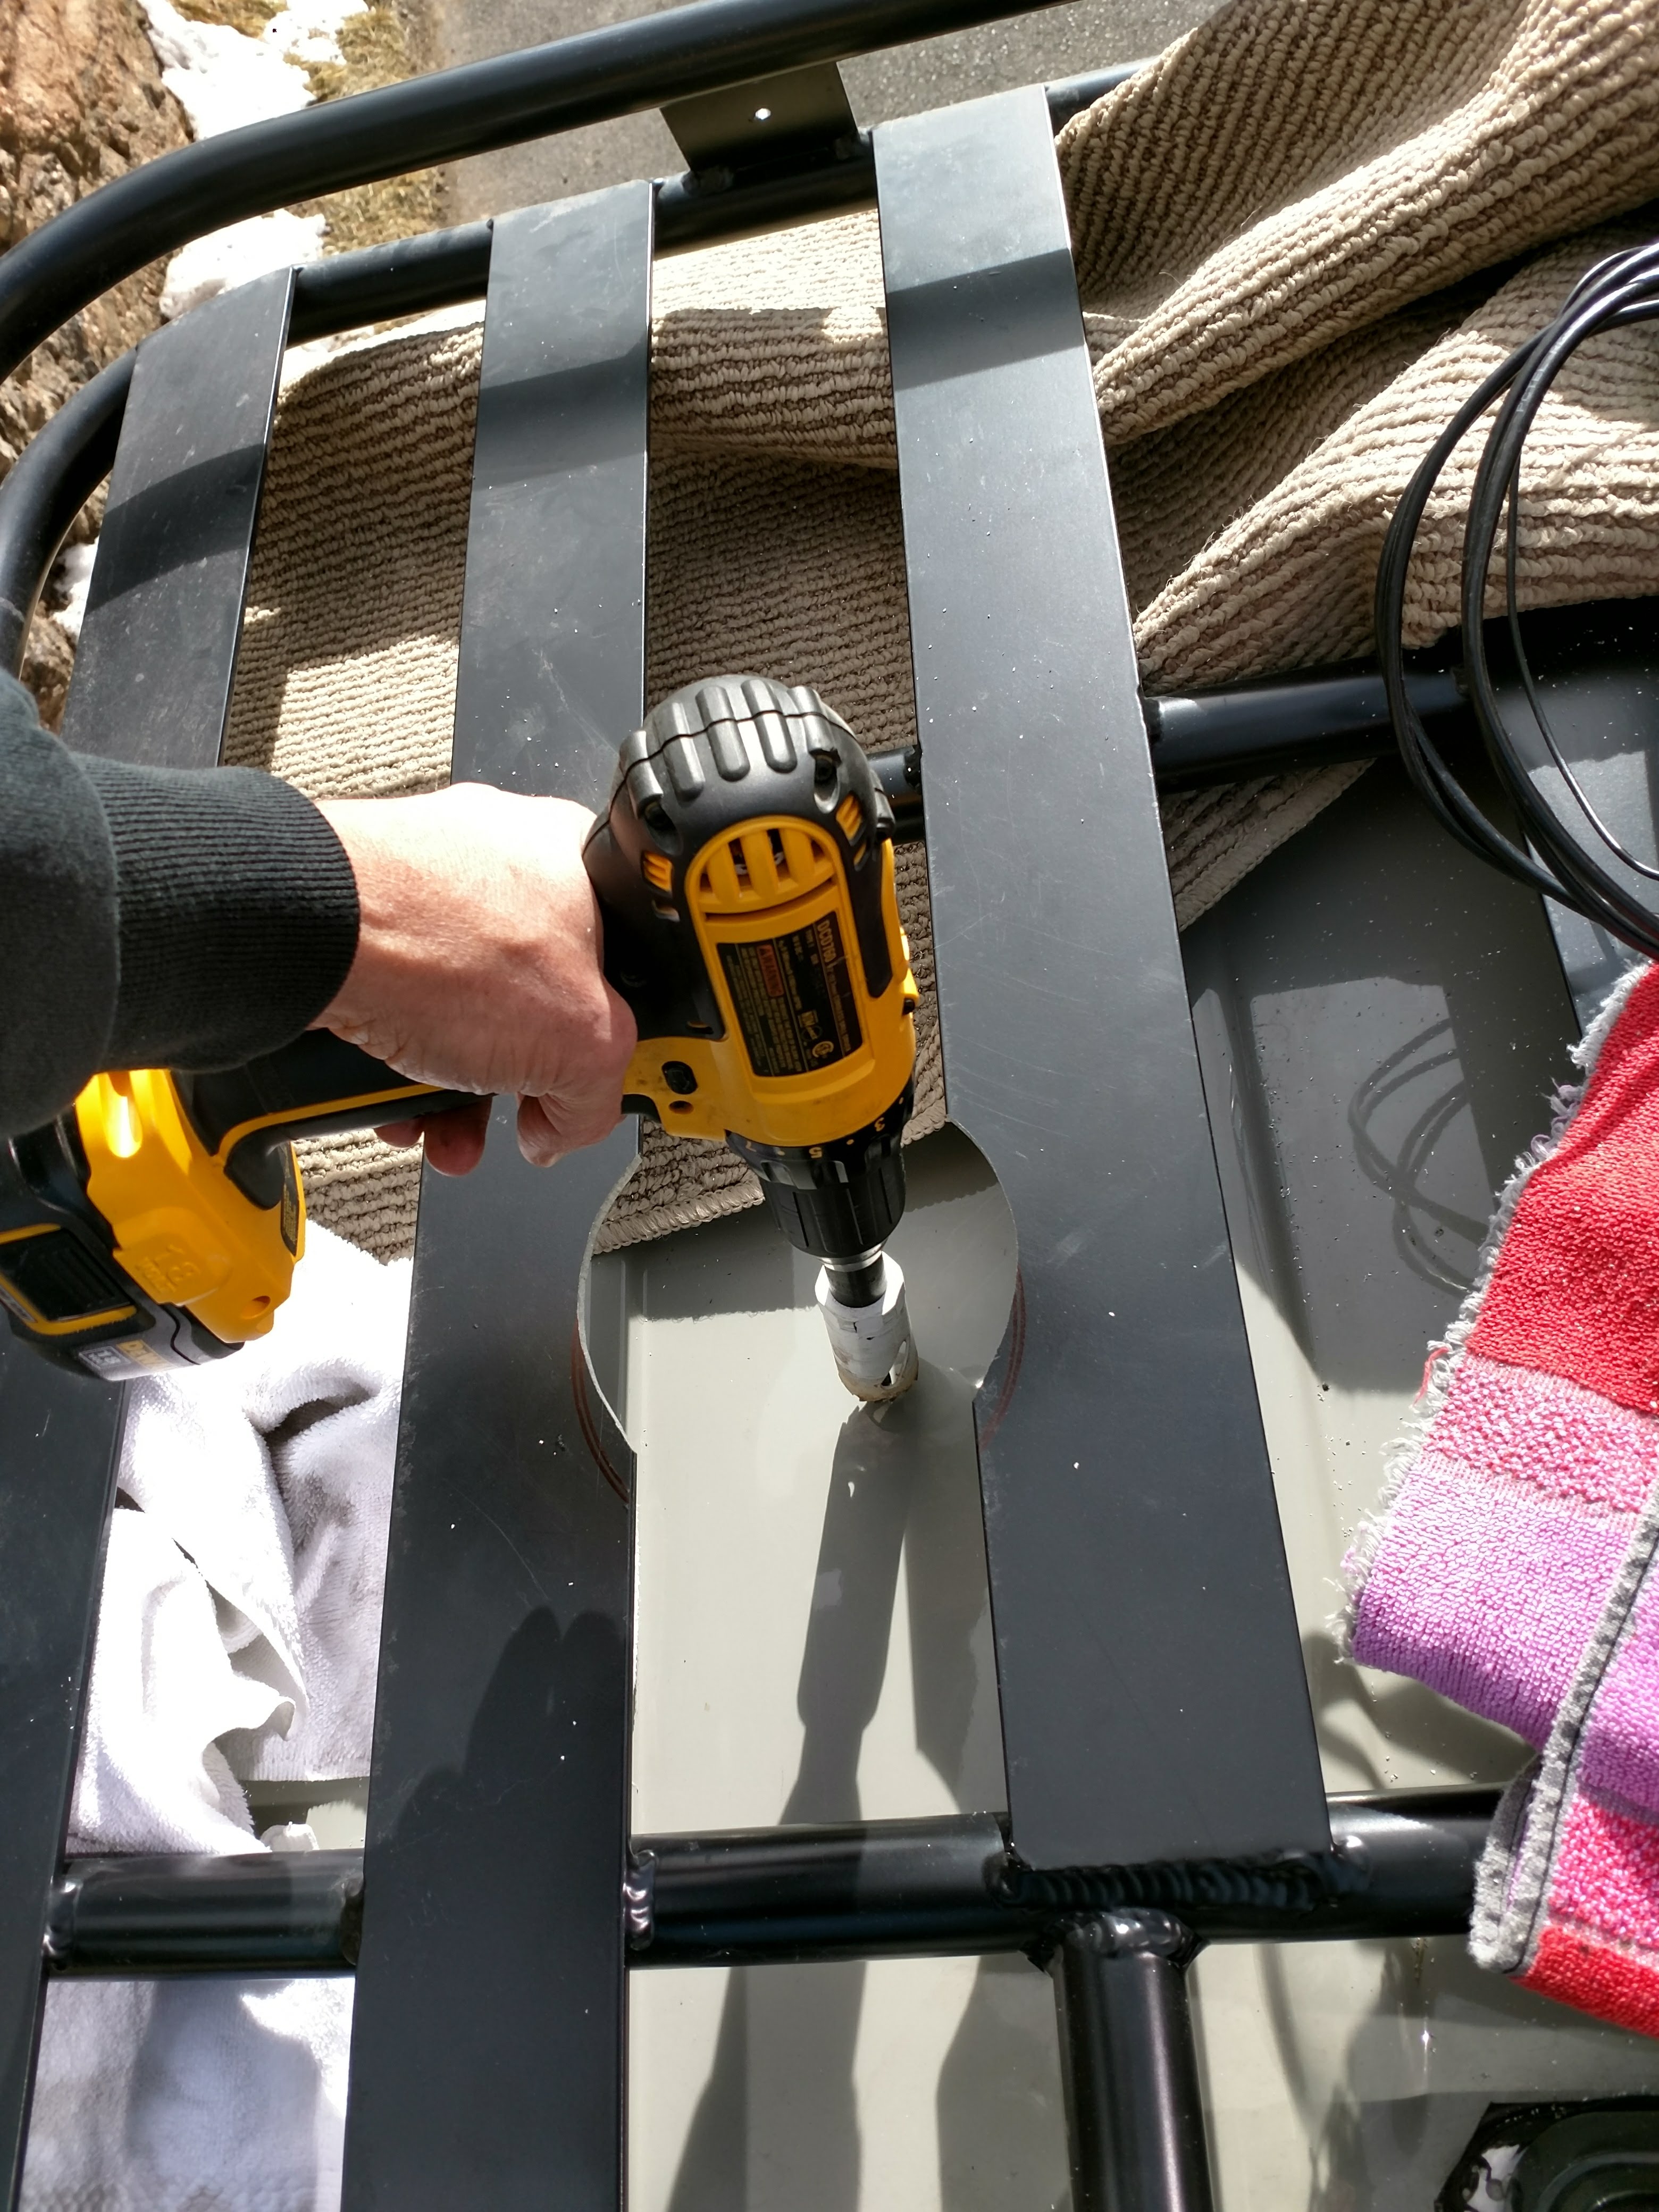
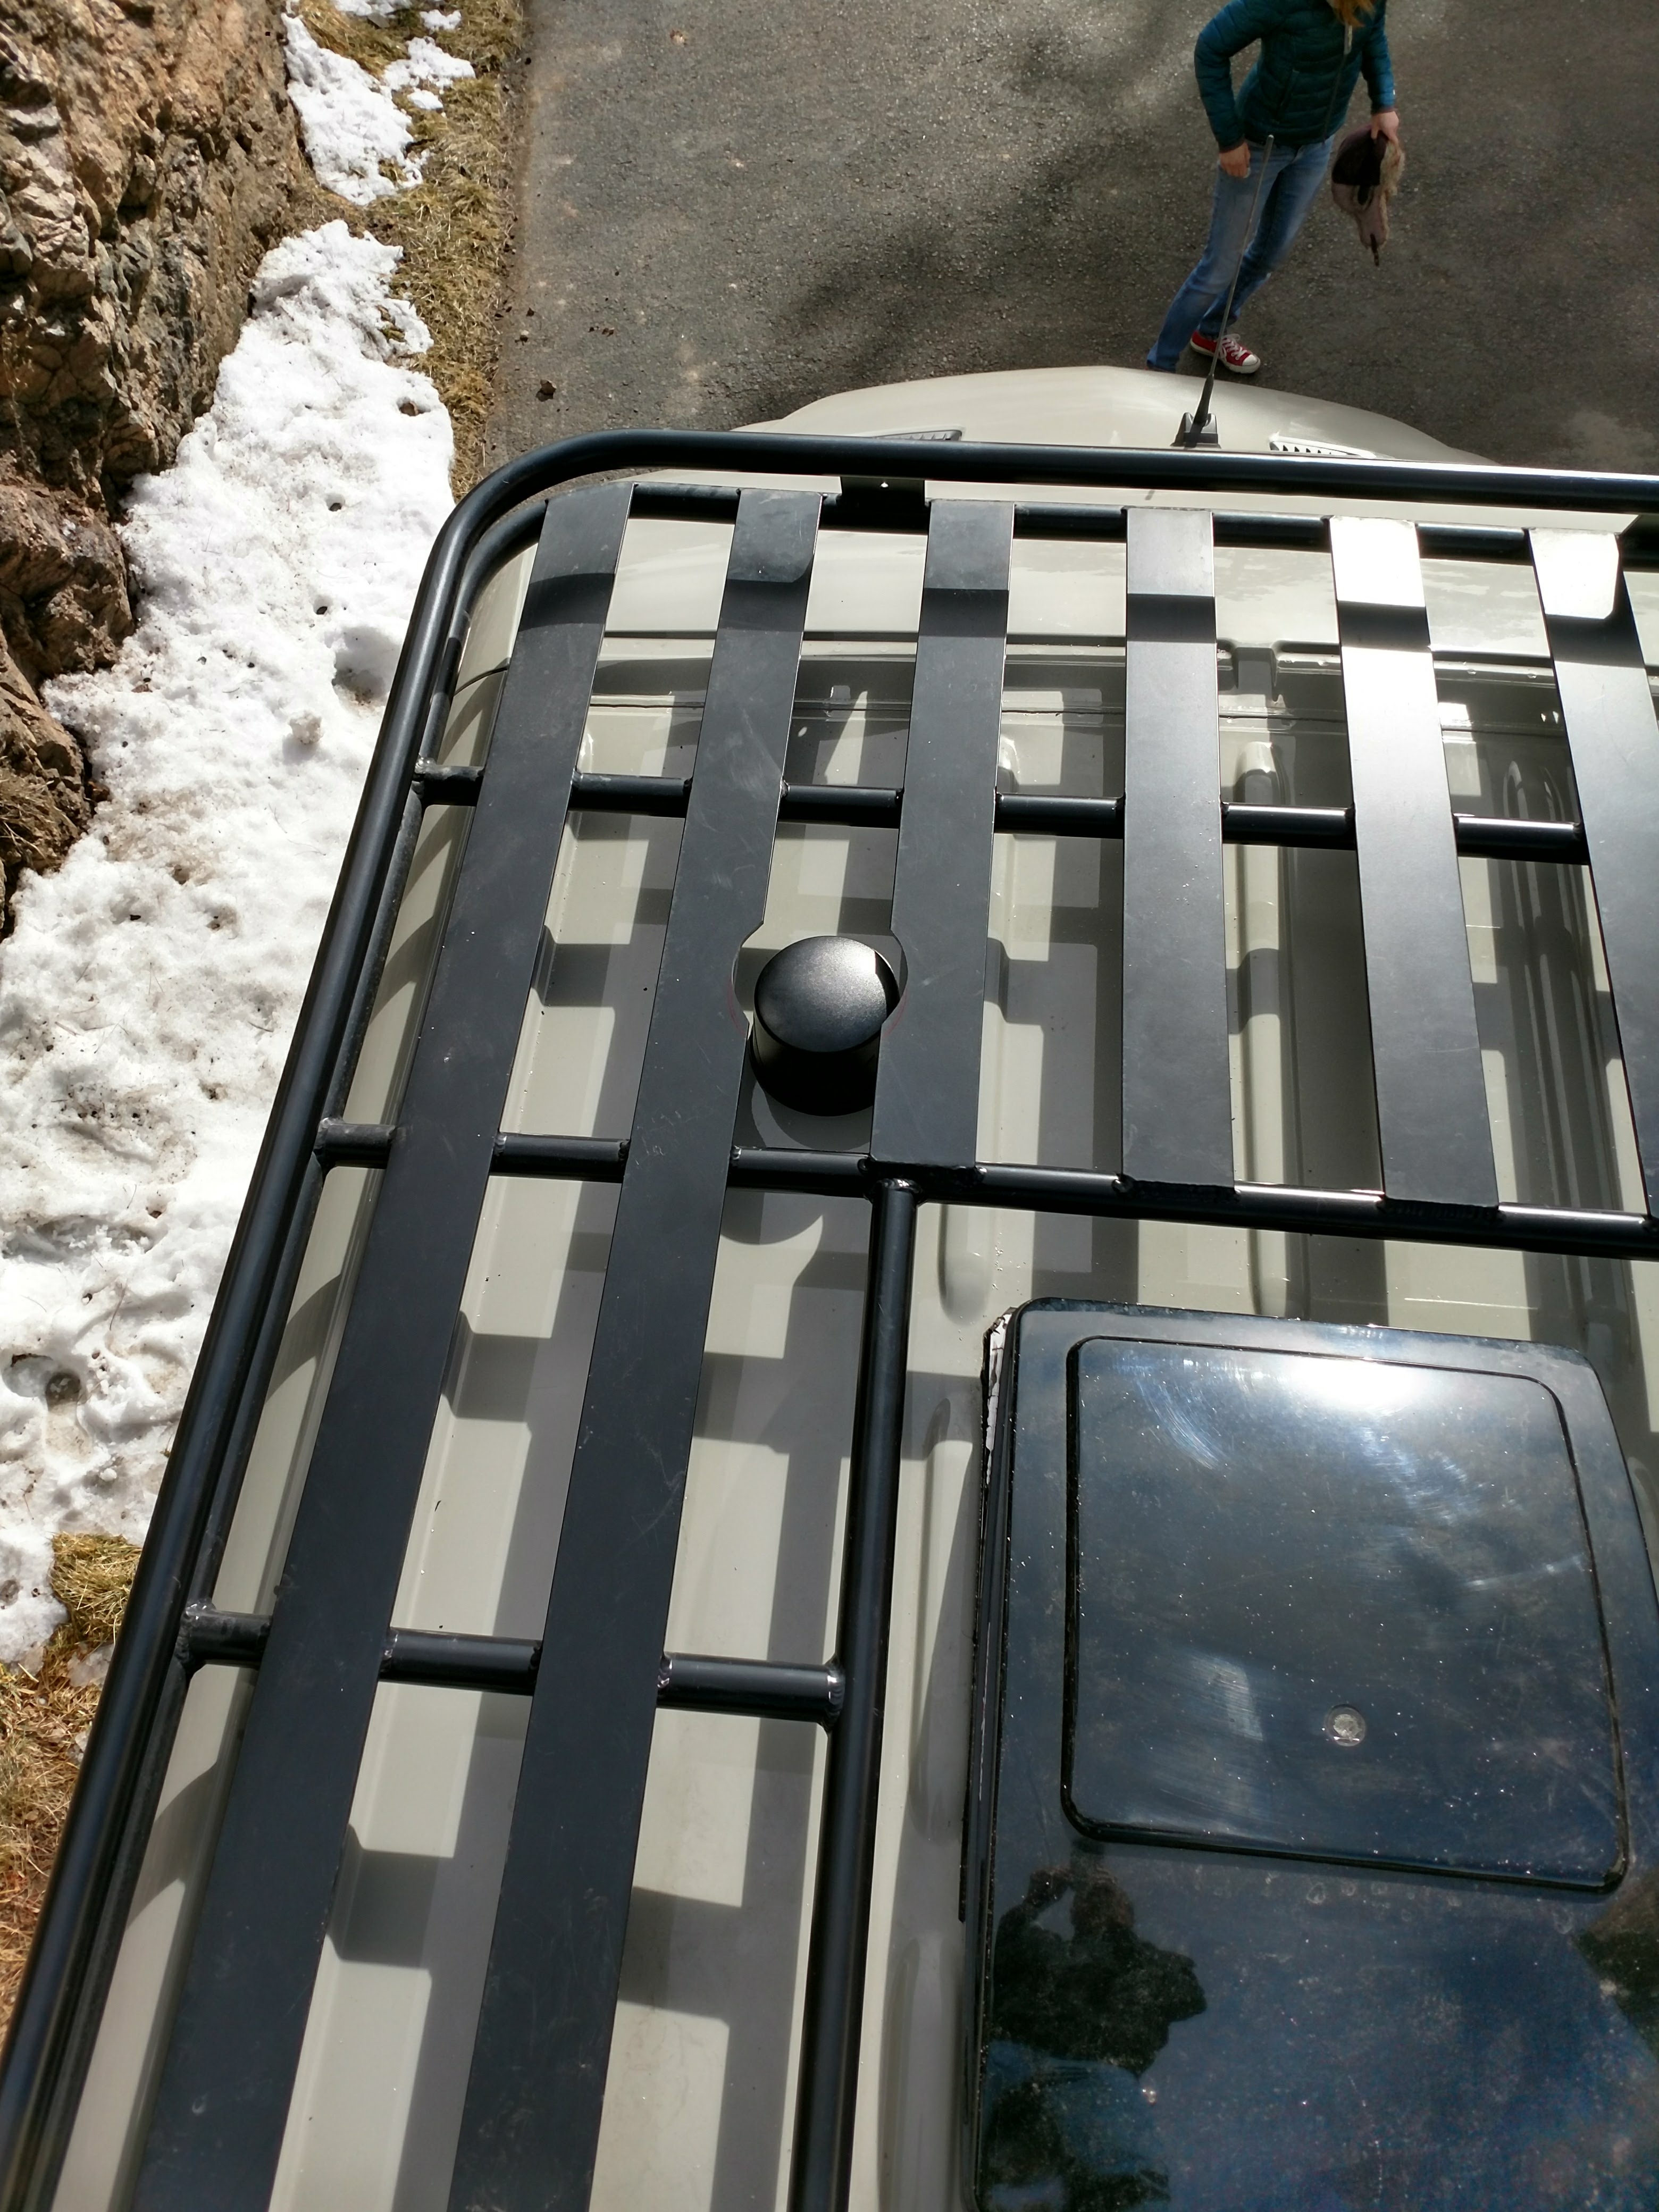
Just before drilling the hole in the roof for the fitting, I decided to do some testing on signal strength to ensure the research I did on interference matched up with reality. The testing procedures would not hold up to the standards we had in the physics lab back in college, but it should do. Using the cell phone signal strength indicator in the "About phone" settings menu, I could see the signal strength when on the van roof, on the roof rack, 1 foot above the roof rack, 2 feet above the roof rack and 3 feet above the roof rack. These signal strength measurements were taken at the front, back, sides and center of the van roof. Surprisingly, the strongest signal reading was flush with the van roof, under the roof rack. The next strongest signal reading was 3 feet above the roof rack. These findings were consistent at each location on the van roof. This brought me to the conclusion that the effect of the sandwich between the steel roof and aluminum roof rack slats is actually amplifying the signal, like an antenna dish. As a result, I concluded that the simplest antenna mounting solution would be the most effective. The antenna mounted directly into the van roof with no conduit. I did, however modify the roof rack slats slightly to make room for the antenna.
***UPDATE***
Since originally posting this, some helpful folks on Reddit clarified some misconceptions I had on the effect of the antenna placement. The reason the best signal is achieved with the antenna mounted directly on the roof of the van is because the antenna is designed to be mounted on a ground plane. The roof of the van becomes a big part of the antenna.
Reddit user gjhgjh said this:
"Your hypothesis about the sandwich effect is incorrect. The antenna works better when mounted directly the roof because it is designed to use the roof as part of the antenna. By elevating the antenna above the roof you are essentially removing half of your antenna!
If you want to get a better signal when you are in "the middle of nowhere" you'll have to raise the antenna as high as you can get it. But wait you say. Didn't you just get done telling me I'd lose half my antenna if I did that? Yes, yes I did. That's why you will need to mount radials below the antenna to provide the same thing your roof was providing to the antenna. If you simply want some construction advice or if want to learn how to calculate the optimal radial length for a given frequency head on over to r/amateurradio and ask questions."
Further, it was suggested for even better reception to use a Yagi antenna which is directional. This will require aiming each time we park. This will be more effective the higher it is mounted, so a removable mast of some sort would also need to be constructed. Our initial setup is complete with the touch of a button. This approach with the Yagi antenna and mast will require more work to set up each time we make camp. At this time, we'll keep a pulse on how often we are out of range to determine if it is worth investing in an additional antenna and apparatus.
*** End of Update***
***UPDATE 2***
Some readers have commented asking about wifi repeating/boosting/extending. At first, I was unaware that the CradlePoint router has this feature. The feature is called "Wifi as WAN" and requires configuration in the router device settings for adding in each access point for the first time. When using Starbucks or Xfinitywifi type access points, once it is added, it will work at any location without additional configuration.
Instructions for performing this configuration can be found here: https://customer.cradlepoint.com/s/article/NCOS-How-to-configure-WiFi-as-WAN-on-a-Cradlepoint-router
It seems that the Pepwave mobile LTE routers also have this capability which is called "Wifi Mesh".
*** End of UPDATE 2***
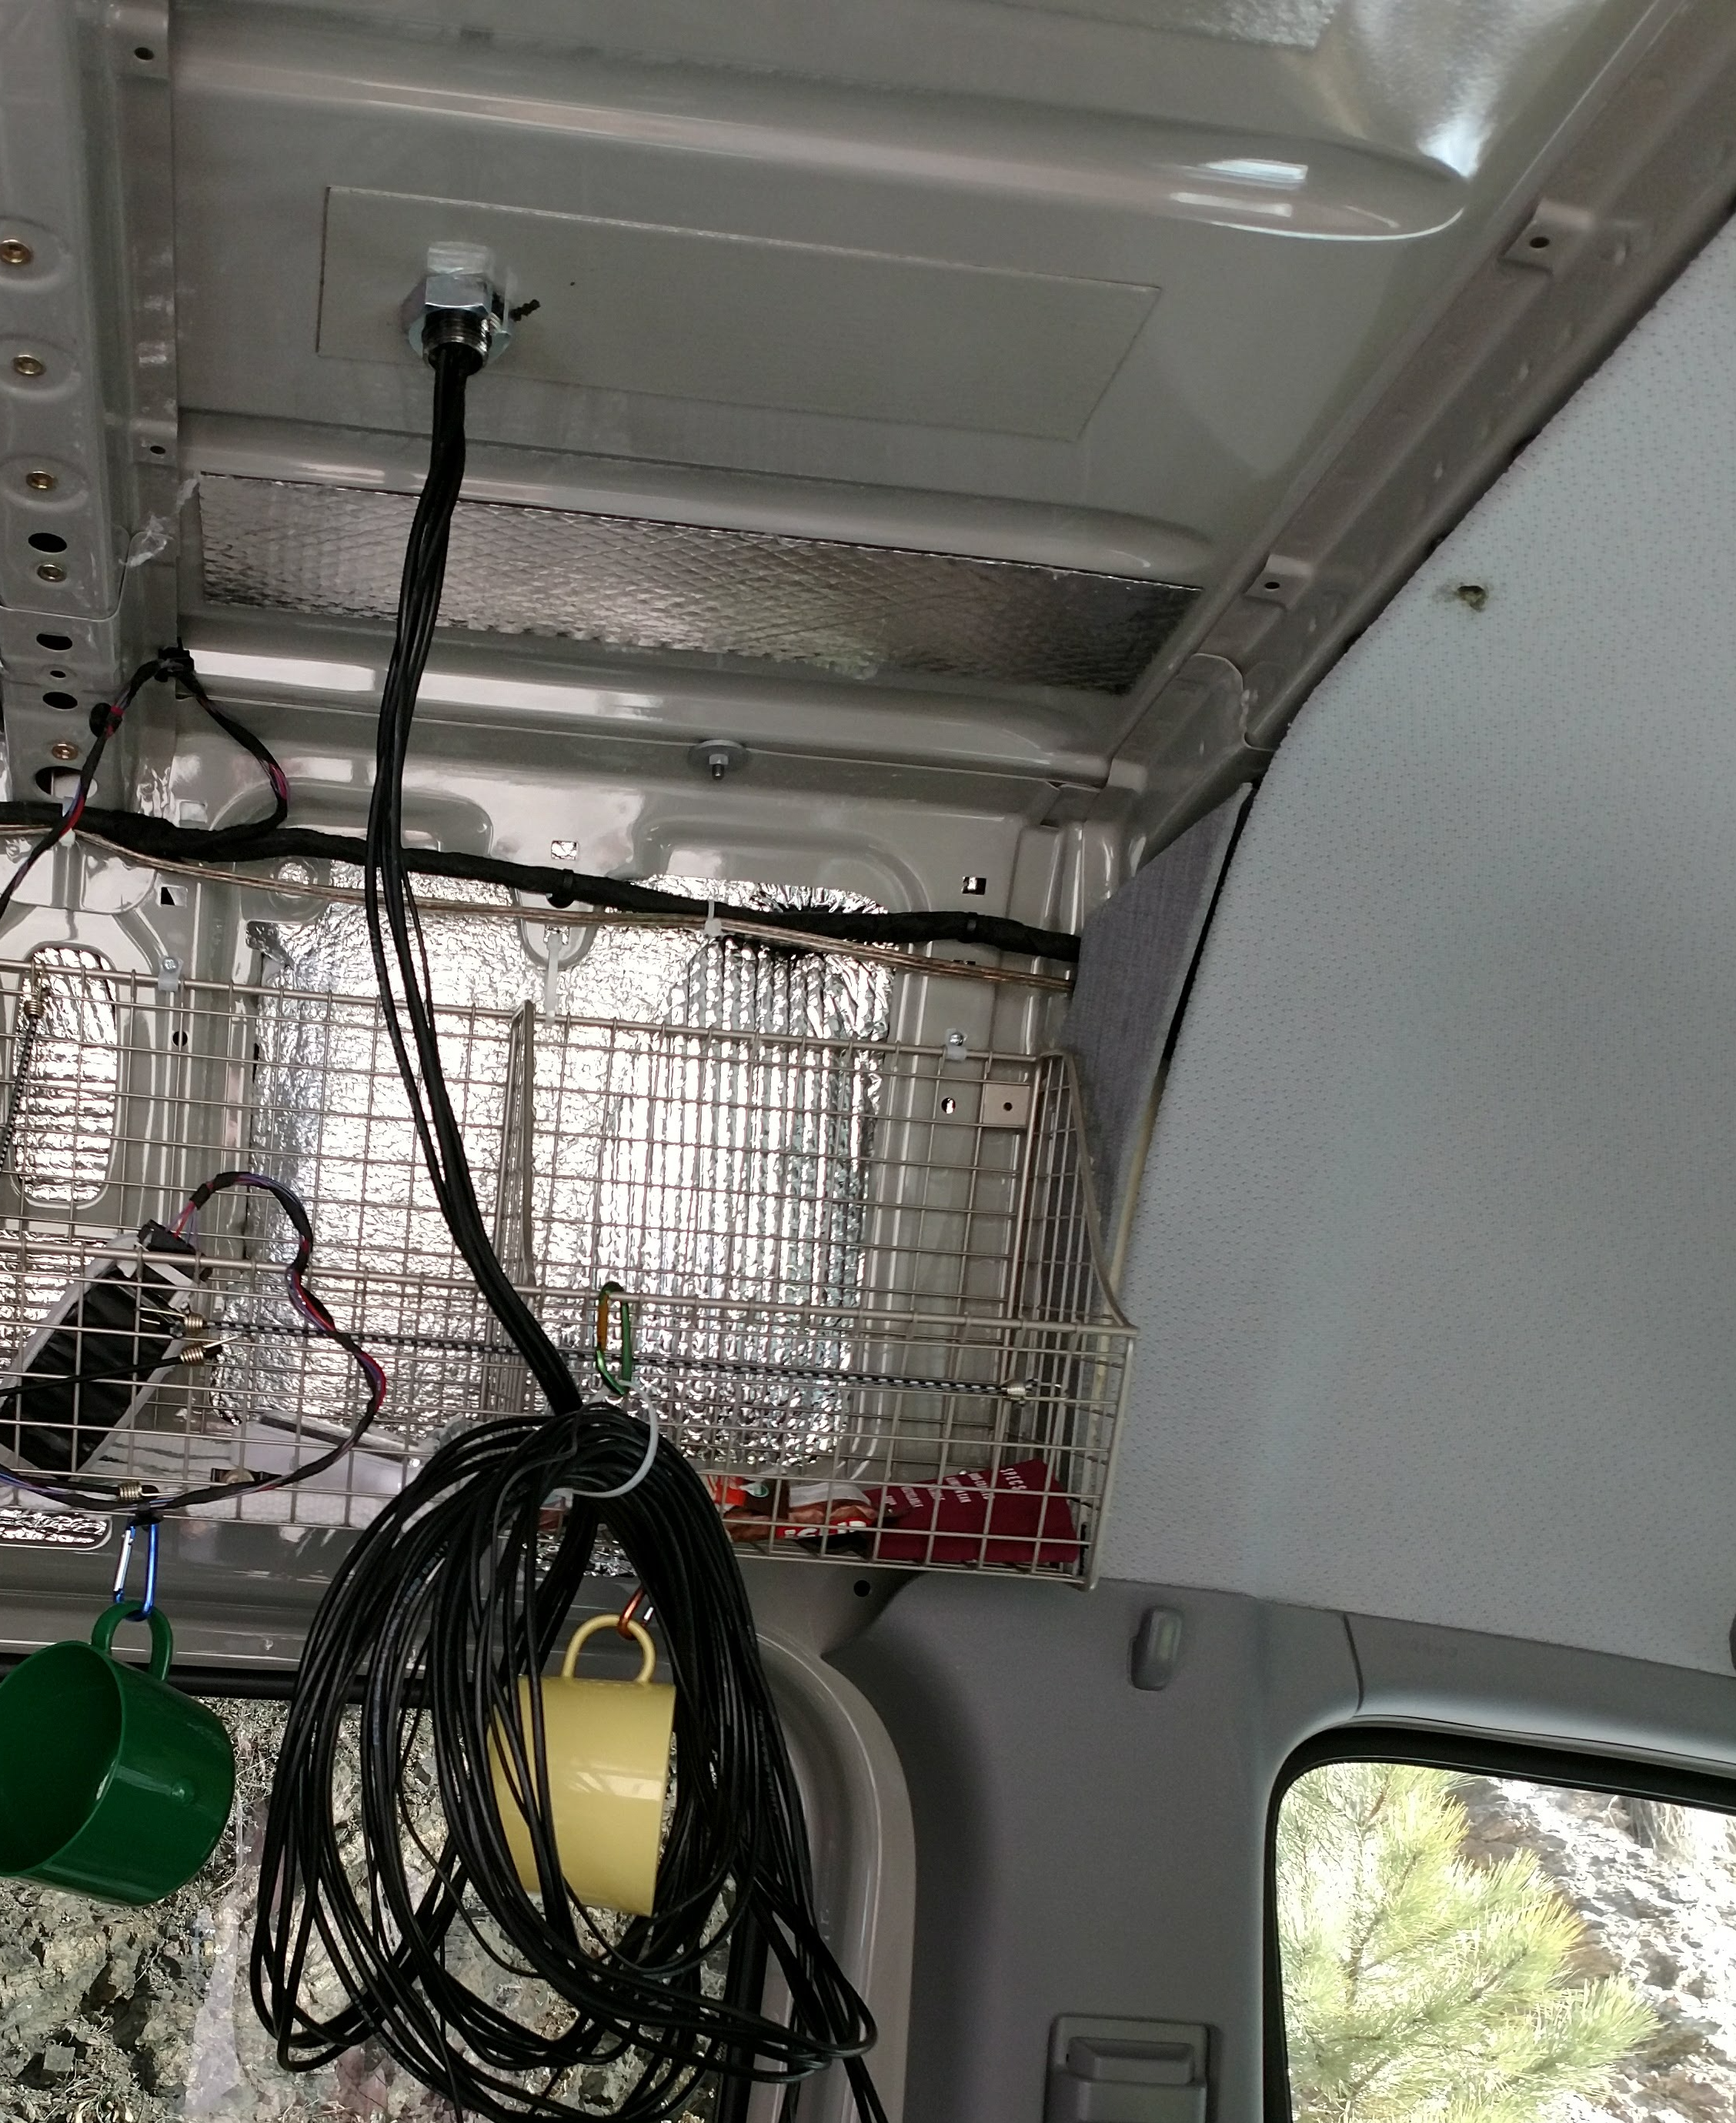
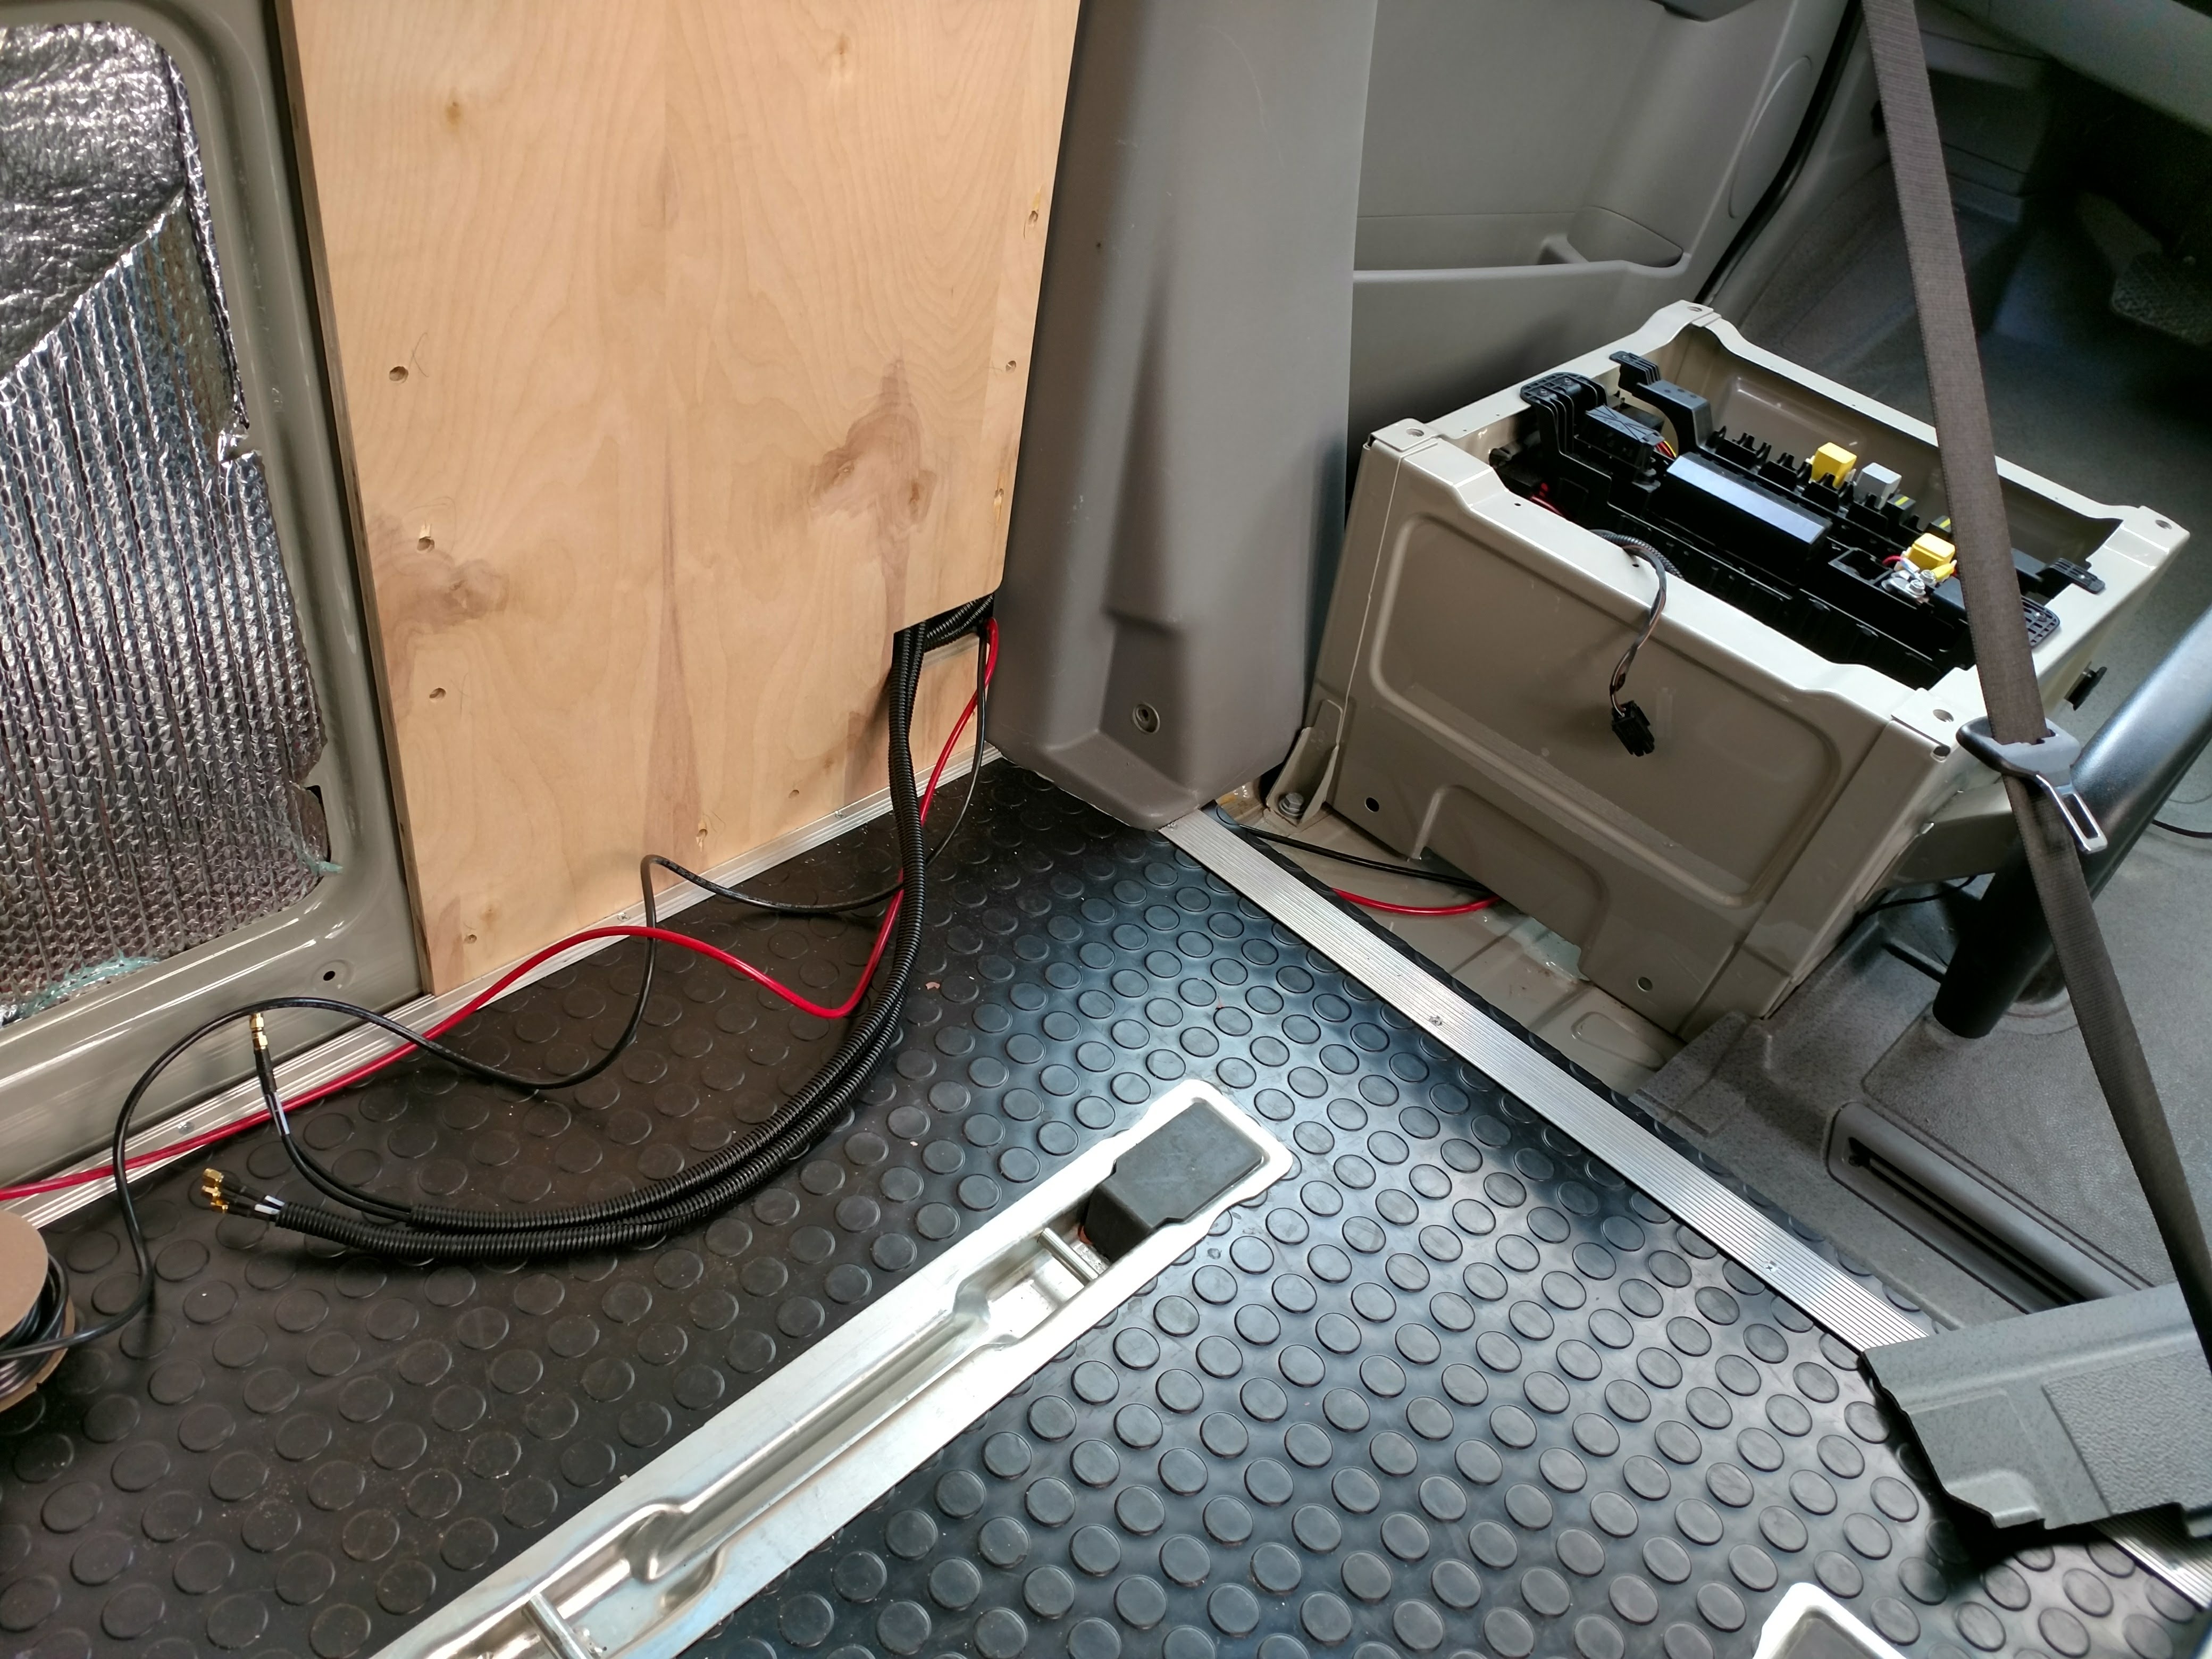
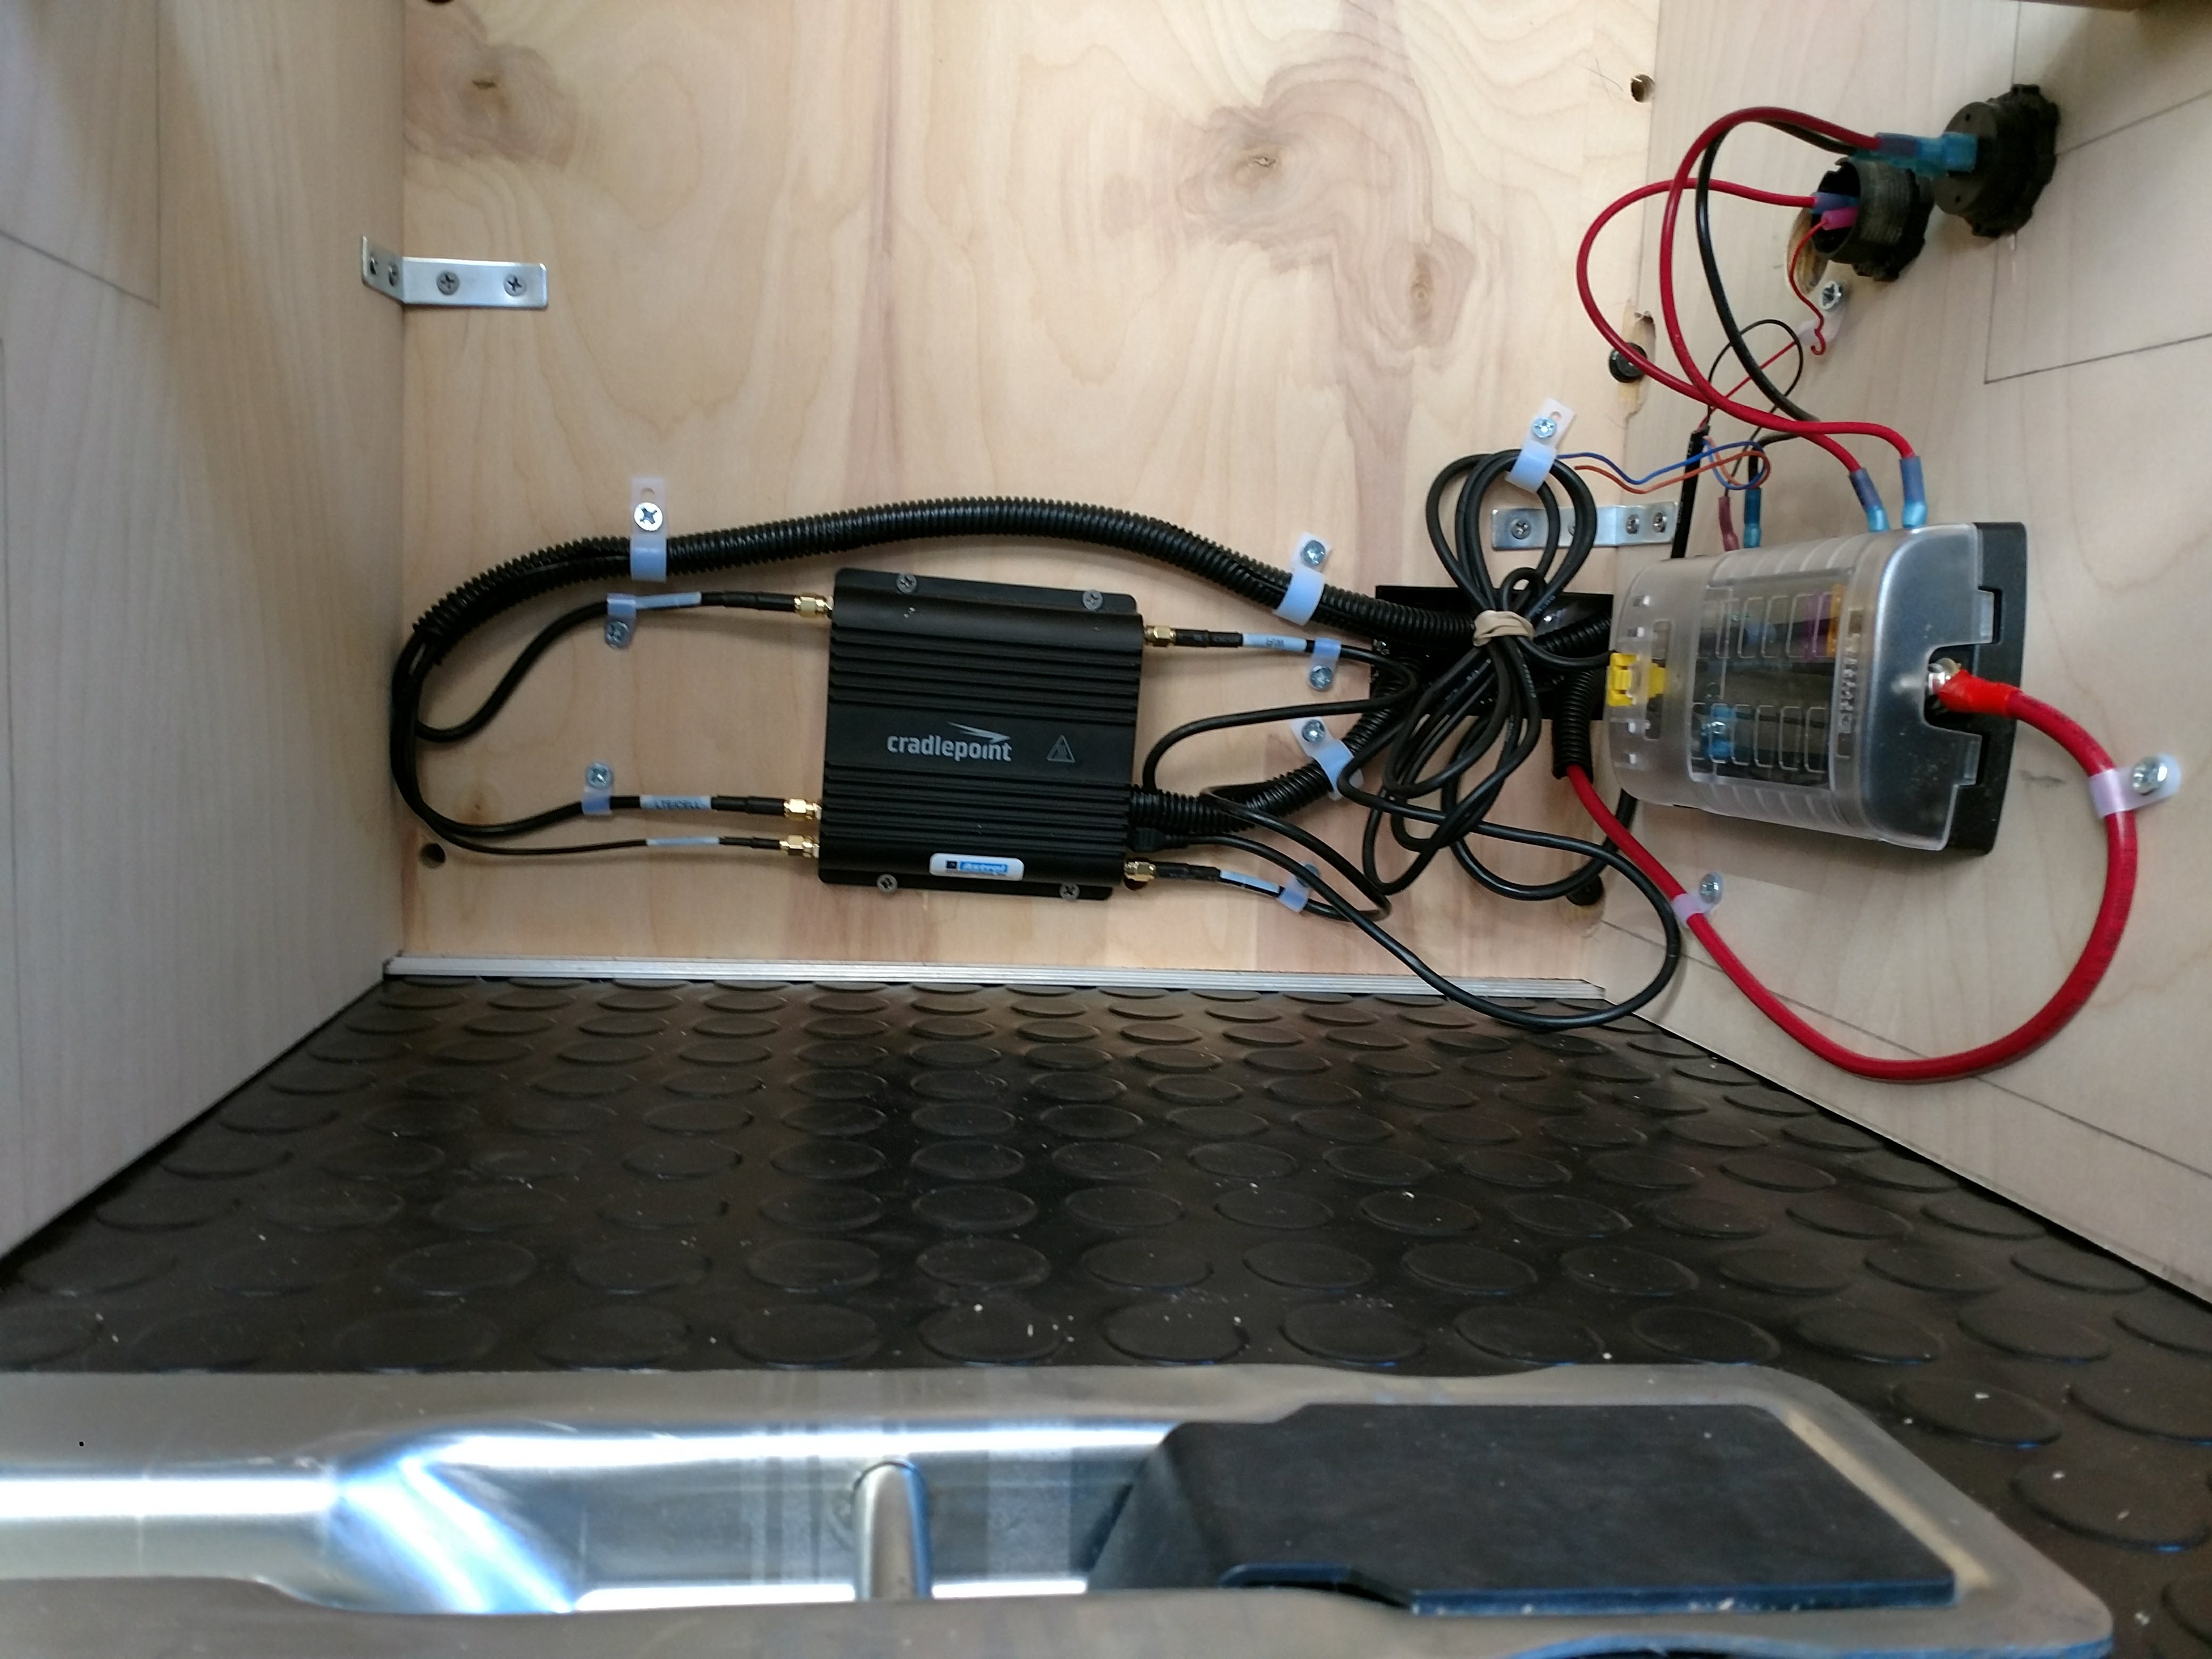
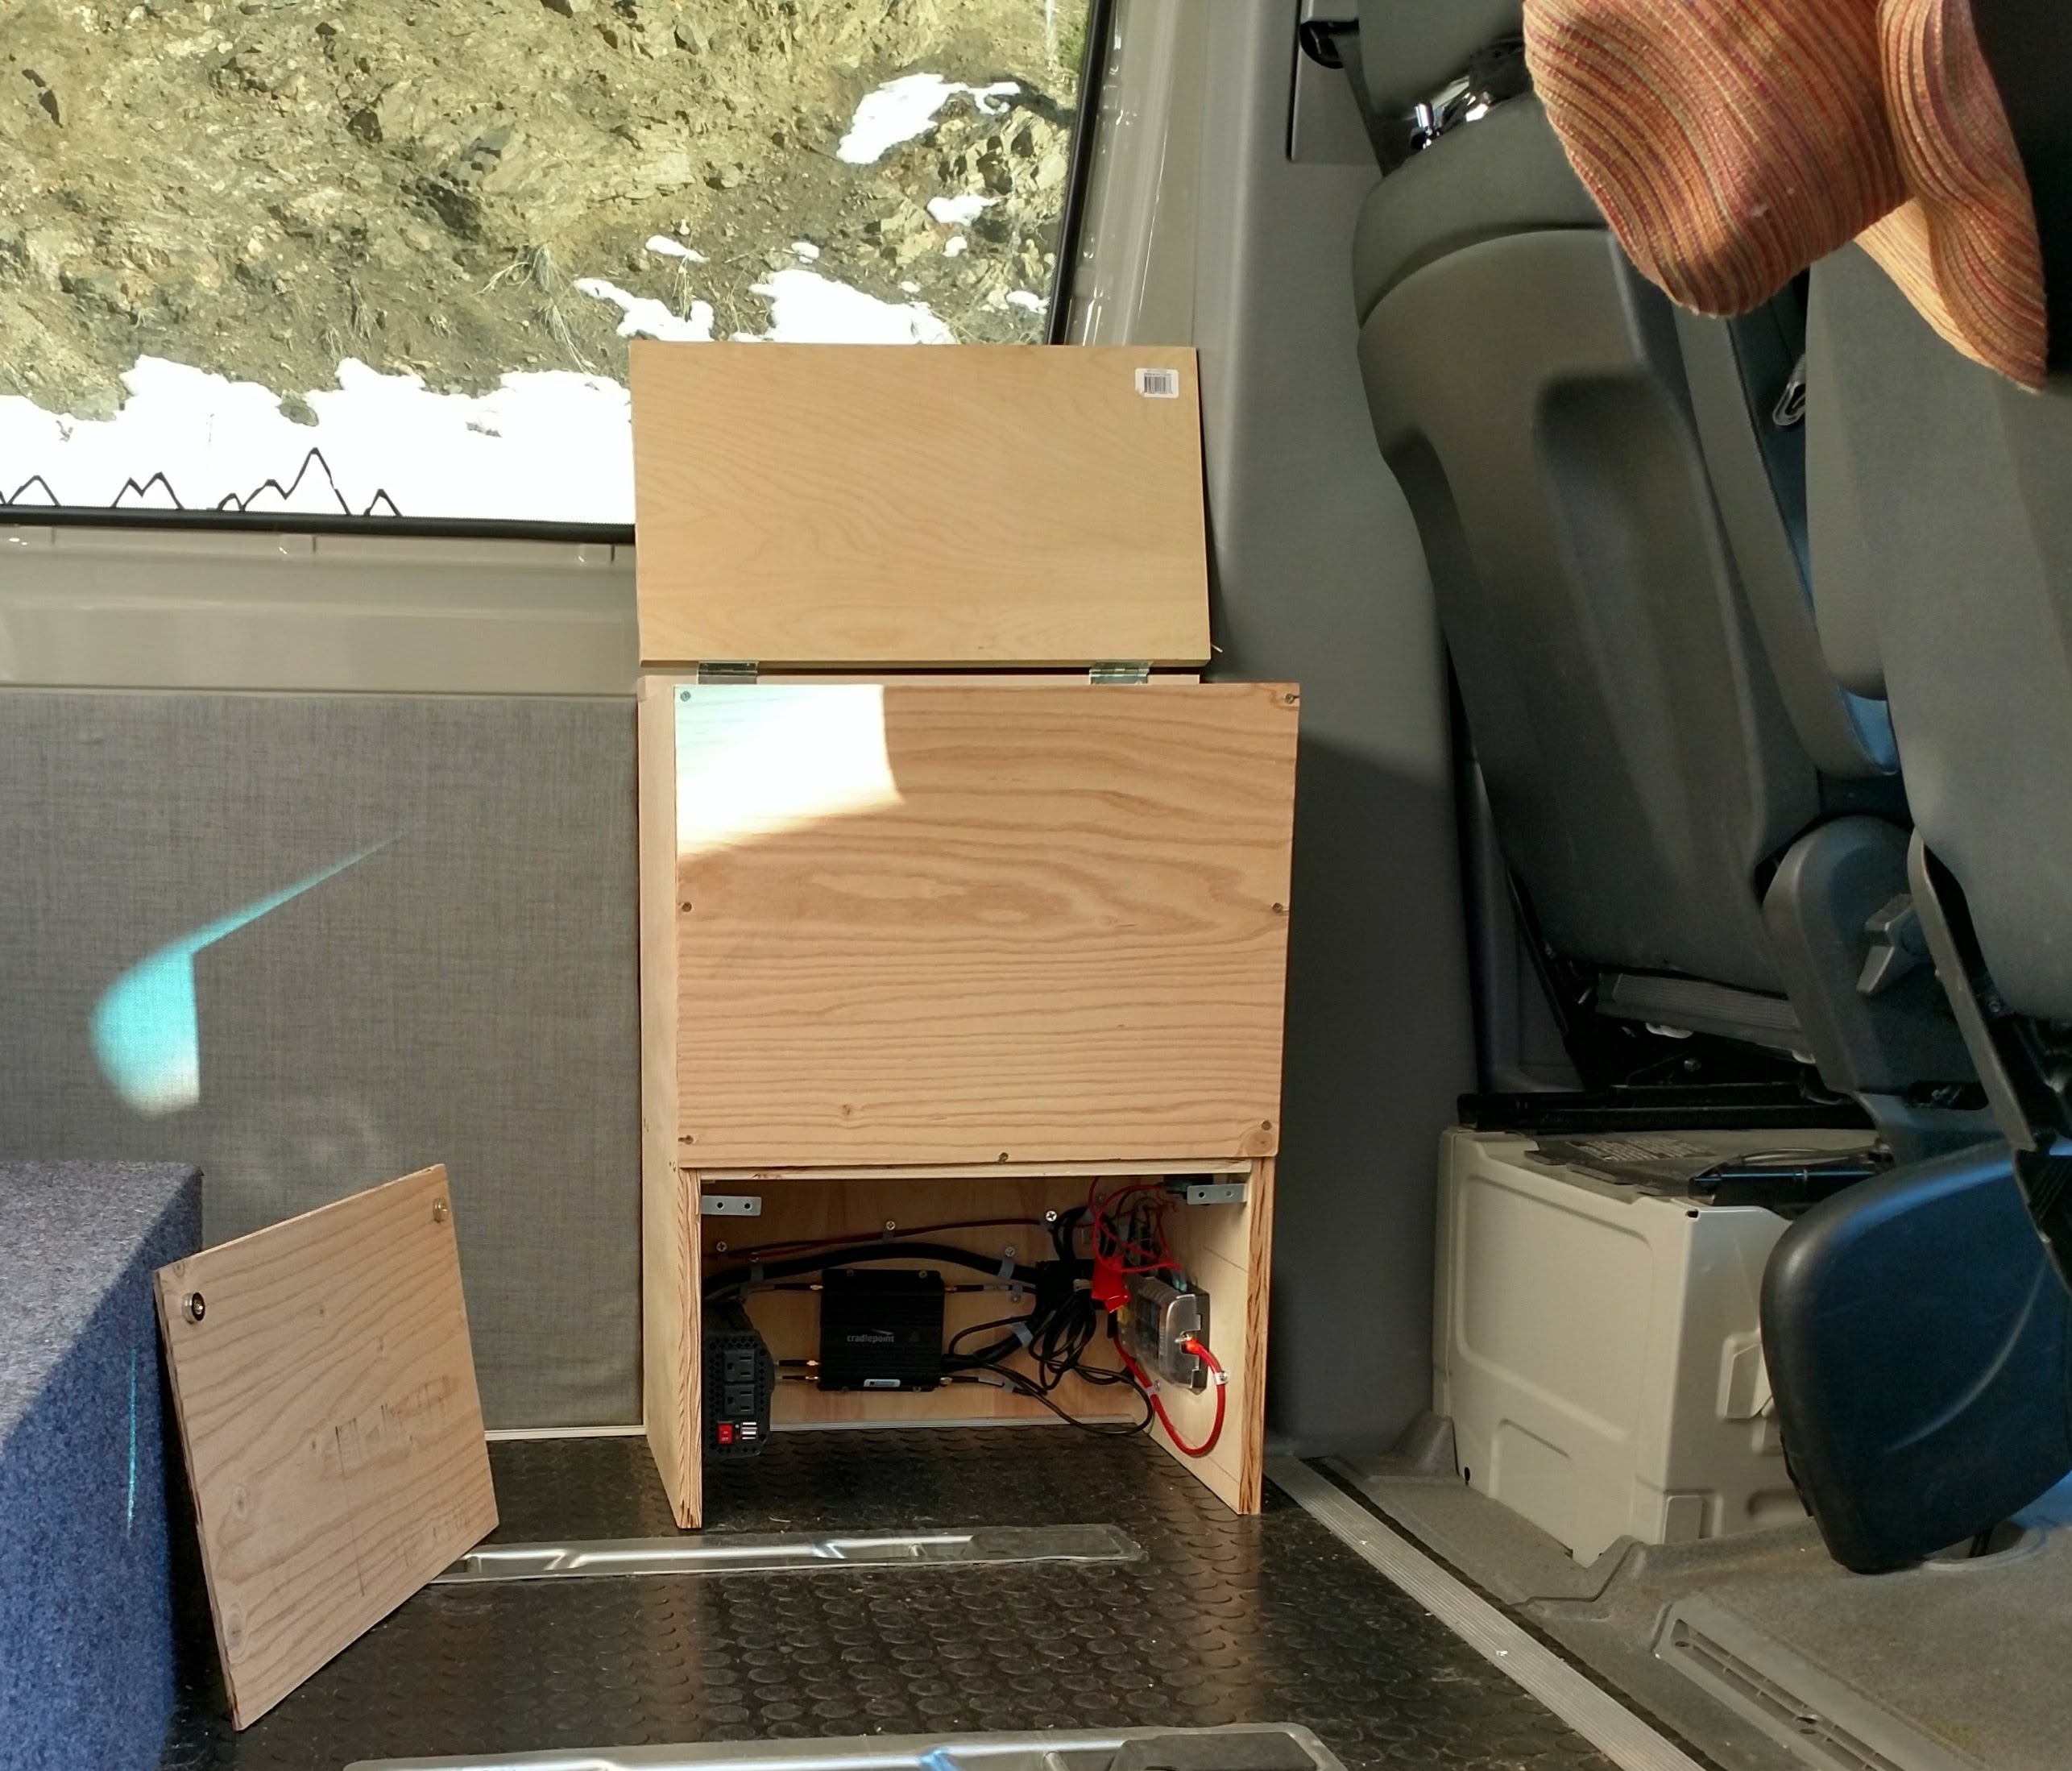
With the antenna mounted and the antenna cables inside the van, it was time to do the physical and electrical hookups. I built a temporary electrical cabinet to house the router and fuse block. The antenna cables ran easily behind the rear side of the B-pillar cover to the back of the new cabinet. This article describes removal of the B-pillar cover.
Our van has the factory auxiliary battery which will have plenty of juice for the wifi router. This article describes perfectly how to tap the power from the auxiliary battery. I ran a positive and ground cable from the driver seat pedestal to a fuse block in the new cabinet. The power leads from the router attach to the fuse block with a switch interrupting the positive lead. The switch is mounted through the cabinet wall for relatively easy access. I also mounted a cheapo inverter in the cabinet for powering laptops and other devices that don't have 12 volt adapters. In the next revision, we'll add a high efficiency inverter like this one.
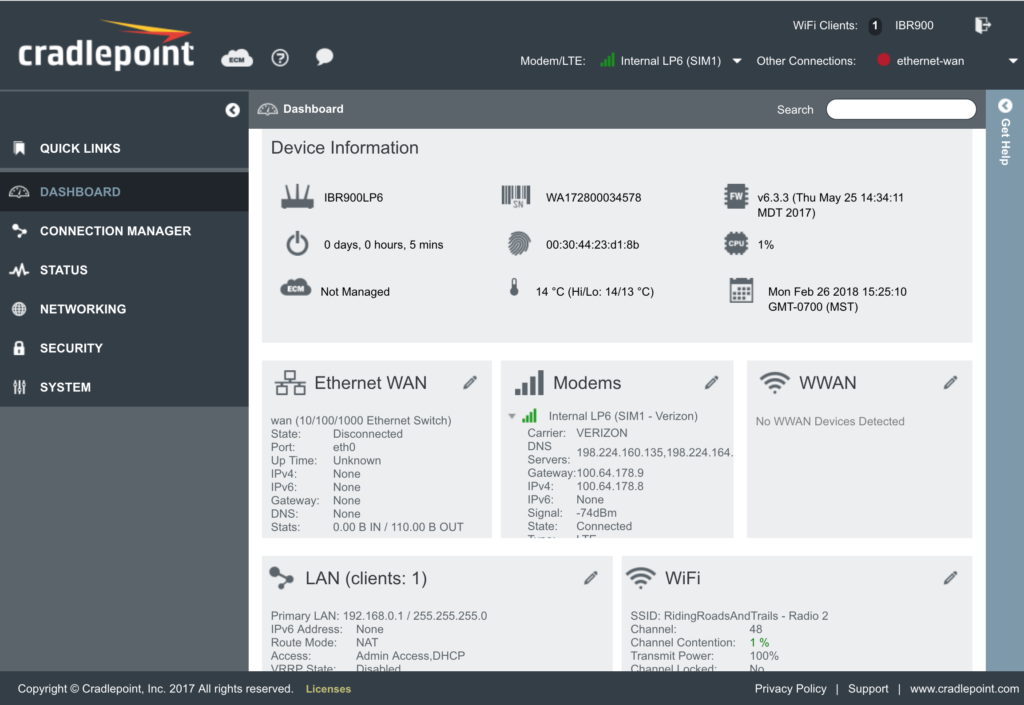
Once the wifi router was mounted and powered up, configuring the router was as simple as configuring a home router. I think this means that our Sprinter has the Sprinternet on board.
Our first trip through Colorado, Utah and Arizona provided really good results. The expectation was that when the phones had little to no signal, we could still get signal through the router. For the most part, the signal was rock solid. We had a couple dead zones with no signal in LaPlata Canyon outside Durango and in Bears Ears and Natural Bridges National Monuments but other than that we had some great signal in some pretty remote areas where the cell phones had no reception on their own. We'll call it a success.
Yet another update:
We've moved on to our new Ford Transit van in 2021 and installed LTE/Wifi this same way. The only change is that we went with the newly introduced Peplink Max Transit router that is CAT 18 compliant and a compatible PCTEL CAT 18 antenna.
What about 5G?
The whole purpose of getting a signal amplifier for LTE is to be able to get data connectivity on the fringes of civilization where the cell towers are further away. 4G signal typically has a range of 10 miles while the 5G signal range is typically less than 1/3 mile. Therefore, 5G will only be available in locations where you would not need a signal amplifier anyway.



Great writeup – thanks for posting. I have a question about why you chose multi-directional over directional. Do you really plan to use Wifi when you are driving? I also work when I’m traveling but always plan to be stopped somewhere when I need to access data services.
Yes, we do use the wifi when on the move. Also, I don’t want to have to deal with locating the best cell tower and then orienting the van to optimize the signal. Of course, of you are not going to hard-mount the antenna to your van and clamp it on when you park, it may be less of an issue for you. I didn’t consider the directional antennas for my purpose, so I don’t know if there is a price or performance benefit.
Great write up! Thanks! 5 coax cables! I’ve looked at the WeBoost as well without being able to tell (as a non-tech Guy), whether it matches the claims.
What’s your guesstimate on the total cost of this system? And I wasn’t clear on whether you needed to get additional data plan or could just use the service on your phone or tablet.
I was unable to do a hands-on eval of the WeBoost, so I can’t say for certain if it lives up to its claims. The total cost was about $1000. As far as data plan, that will really depend on your usage. We went over our 8GB allotment. The 8GB is shared by all of our devices on our plan.
Wow! You did your homework and then some! Thanks for all the valuable information and links to products!
So can this handle wifi? Like if you are parked down the street from a starbucks and want to take advantage of their public wifi? or is is strictly cellular only?
Hi Aaron, This solution is cellular/LTE only. In order to accomplish what you are looking for, we would need to add a separate wifi repeater or use a router that has wifi repeater capability like the Pepwave. For us, we are rarely anywhere with wifi for very long, so that capability was low on the list.
An update to this is that the router does have wifi repeating/extending/boosting capability. The function is called “Wifi as WAN”. Details are in the update in the main body of the article.
Pingback: Road Trip - Biking in Southwest Colorado, Utah and Arizona - RidingRoadsAndTrails
Pingback: DIY Sprinter Van - Building an 8020 upper cabinet - RidingRoadsAndTrails
I’m seriously considering your setup. Is it still working for you? Have you learned anything new? What would you change?
We’re really happy with our setup right now. We’re on the road and haven’t been posting much. If you have specific questions, feel free to ask.
The placement of your antenna is going to dramatically be affected by the rack as it’s essentially now in a faraday cage. it needs to be mounted on a small metal plate on top of the rack.
Nice write up. I want to have a similar setup for a van being customized for me. What cell provider are you using and is it a business account. I heard one is pretty much a requirement with a setup such as yours.
Thanks Dave…we have the Verizon family plan with 16GB + carryover. This is generally enough for us as long as we save video for when we can hook the router up to public wifi. We aren’t usually full-timers and try to download video before we do hit the road.