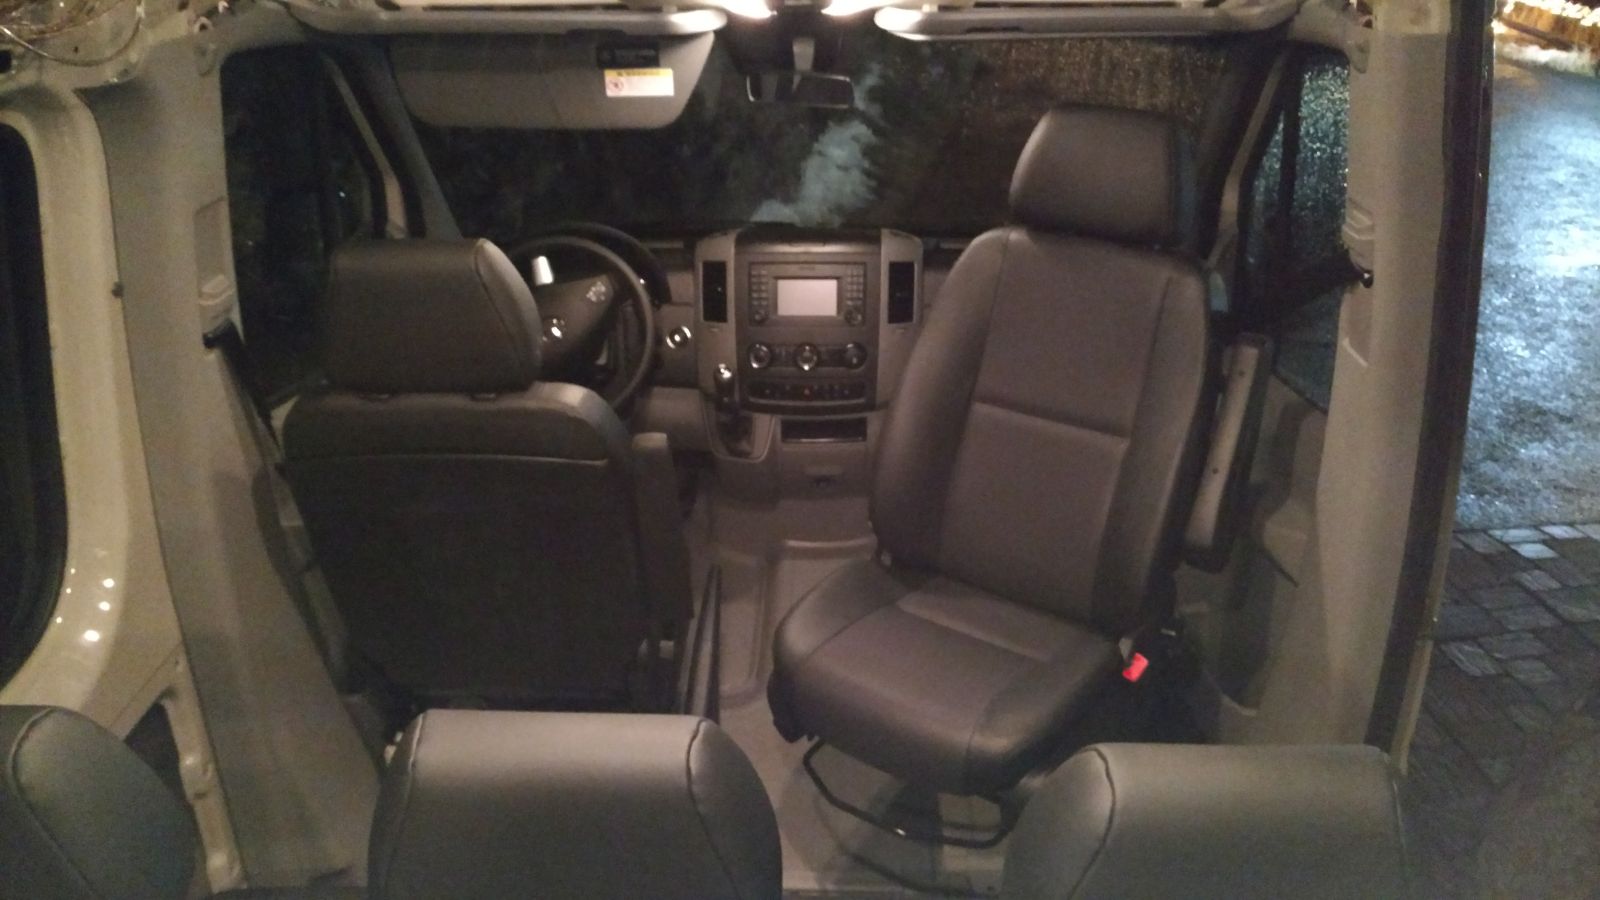
***Update: Also check out our post on the new swivels.
One of the upgrades we were hoping to get with the van when we placed the original order was the swivel seats for the driver and passenger front seats. Our Mercedes sales rep said we could not get that option since it was a "fleet" option for 2017. However, watching the Sprinter Source forum it seems that some folks were able to get their sales rep to override the ordering system to get the swivel seat option. Since we found a 2016 van that was configured close enough to what we wanted, we didn't pursue this with our sales rep and decided to install an aftermarket swivel.
There are many options for aftermarket seat swivels available online but each of them has drawbacks, either from poor manufacturing or bad design. After reading many discussions, I settled on the swivel from EuroCampers.com. It does raise the seat height by 2 inches and must be in the forward position in order to swivel without hitting the door.

The install was fairly easy. I saw people describe that the seat pedestal may be installed out of square causing the bolt holes to not line up properly. This was the case in our van and was resolved by loosening the pedestal mounting bolts before the install and tightening them up after the install was complete. The swivel instructions also provided this tip.

The instructions were not clear as to whether the provided bolts connected the swivel to the pedestal or the seat to the swivel. It turns out that the provided bolts have different bolt heads that match up with the mounting holes in the swivel so they are the ones that are to be used to mount the swivel to the pedestal. The the original seat mounting bolts are used to mount the seat to the swivel.


The swivel is designed to fit between the seat rails, unfortunately, it is manufactured about 3/16 of an inch too wide so that it interferes with the stops that protrude through the seat rails providing the seat adjustment. There are 2 options for fixing this. My first thought was to grind the platform to be narrower, but it looked like it would hurt the integrity of the swivel construction. My next thought was to place spacers below the seat rails allowing clearance beneath the seat rails for the stops.

I used 4 zinc washers to provide the necessary space between the seat rails and the swivel on each corner.

Next, the wires from the seat have to be run to the pedestal. The hole in the swivel does not match up with the plastic foam top of the pedestal. I was able to poke a hole in the pedestal top with a utility knife through the swivel hole to then lead the wires from the seat back into the pedestal.


Next Steps
With the additional height of the seat, it is now difficult for the vertically challenged of us to reach the floor with our feet. Our options for resolving this is to replace the pedestal with a shorter one as described here in the Sprinter Forum
Once we have the seat height issue resolved, we can decide what to do with the drivers seat, or doing a total upgrade to leather suspension seats.

